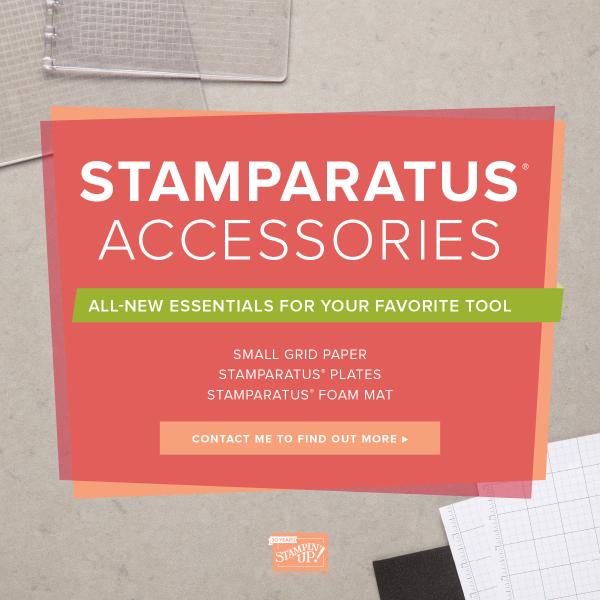
New! Stamparatus Accessories
|
Happy October! Stampin' Up! is excited to announce a new line of
accessories to go with the Stamparatus. What's a Stamparatus you may ask?
It is a must-have stamp positioning tool that allows you to get your stamped images exactly where you want them! For an introduction, please watch these Stampin' Up! videos:
Please be sure to let me know if you have any questions: annehayward@stampingwithbluemooncreations.com |
|
Shop Stamparatus Products HERE |
| |
PXSRY942
Orders using this hostess code will be combined.As always, if we have enough in sales to make the order a workshop ($150), we will have a Mystery Hostess.Please place your order
online by October 26.I will notify our hostess by email on October 27.
The workshop will need to close on October 30.Happy Shopping!
|
|
Shop Online 24/7 |
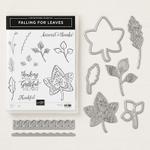
Product Spotlight-Falling for Leaves Bundle
|
Beautiful leaf images with coordinating dies.
Create delicate die-cut leaves, perfect for any fall-themed project!
|
|
Shop Falling for Leaves Bundle HERE |
| |
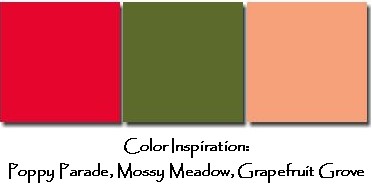
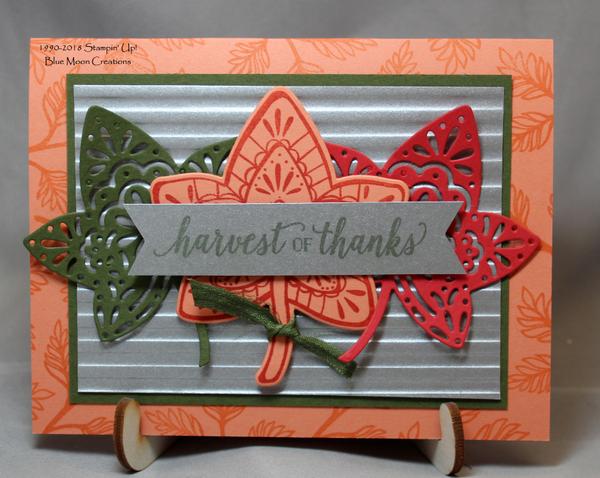
1. Stamp big leaf from Falling for Leaves onto Grapefruit Grove card stock using Poppy Parade ink. Cut out using the Big Shot and coordinating leaf from Detailed Leaves Thinlits Die. Cut two detailed leaves, one out of Mossy Meadow and the other out of Poppy Parade card stock. 2.
Emboss piece of Galvanized Metallic Paper using the Corrugated Embossing Folder. Attach to Mossy Meadow mat. 3. Stamp leaves on Grapefruit Grove card base using Grapefruit Grove ink. Attach corrugated piece. 4. Attach detailed leaves to corrugated card front using a small amount of SNAIL Adhesive, Fine Tip Glue Pen or Tombow Multi-purpose glue. Attach stamped leaf using Dimensionals to pop it up 5. Stamp greeting using Mossy Meadow ink
on a scrap piece of Galvanized Metallic Paper. Banner cut the ends and attach to the card front using Dimensionals to pop it up. Add a piece of ribbon to the stem of the center leaf to complete.
Supplies Used: Stamp Set: Falling for Leaves Ink: Poppy Parade, Mossy Meadow, Grapefruit Grove Paper: Grapefruit Grove, Mossy Meadow, Poppy Parade, Galvanized Metallic Paper
Accessories: Big Shot, Detailed Leaves Thinlits Dies, Corrugated Embossing Folder, Mossy Meadow ribbon (from my stash), Mini Dimensionals
|
|
|
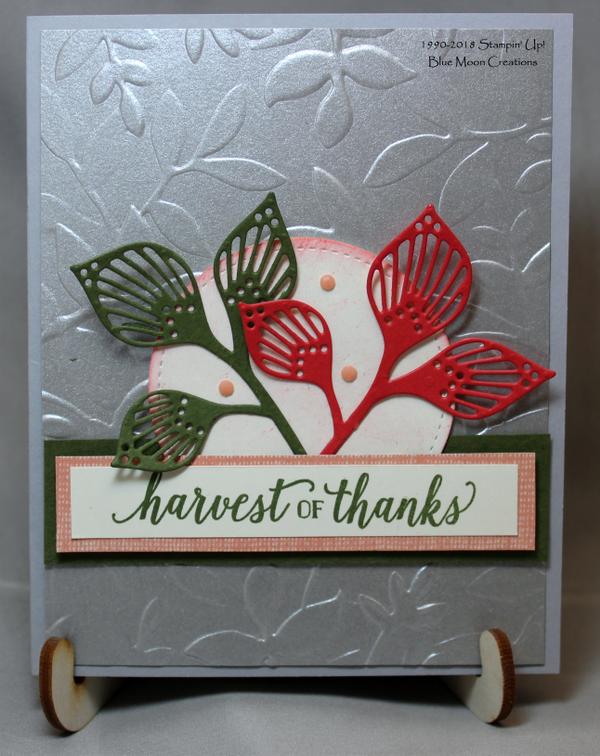
Galvanized Layered Leaves Harvest of Thanks
|
1. Emboss Galvanized Metallic Paper using the Big Shot and Layered Leaves Embossing Folder. Attach to Smoky Slate card base.
2. Cut trio of leaves using the Big Shot and Detailed Leaves Thinlits Die, one out of Mossy Meadow and one out of Poppy Parade card
stock.
3. Cut a circle out of Very Vanilla card stock using the Big Shot and Stitched Shapes Framelits Die. Lightly sponge Poppy Parade ink along the edges.
4.Attach a strip of Mossy Meadow card stock to the card front. Attach sponged circle using Dimensionals to pop it up. Add leaves using a small amount of
SNAIL Adhesive, Fine Tip Glue, or Tombow Multi-purpose glue.
5. Stamp greeting on a scrap of Very Vanilla card stock using Mossy Meadow ink. Mat to a piece of Grapefruit Grove paper from Nature's Poem Designer Series Paper. Attach to the front of the card using Dimensionals to pop it up. Add Grapefruit Grove Faced Dots to complete.
Supplies Used: Stamp Set: Falling for Leaves
Ink: Mossy Meadow
Paper: Smoky Slate, Very Vanilla, Mossy Meadow, Poppy Parade, Galvanized Metallic, Nature's Poem Designer Series
Paper
Accessories: Big Shot, Detailed Leaves Thinlits Die, Stitched Shapes Framelits Die, sponge, Faceted Dots, Mini Dimensionals
|
|
|
Grateful Heart Shaker Card |
Because I had a bunch of little pieces left over from the detailed leaf cut-outs on the previous two cards, I decided to gather them up and create a Shaker Card. For a complete tutorial with photos on how to create a Shaker Card, please click on the pdf
link below. The card featured in the tutorial was made using Graceful Glass Bundle, but the steps are the same.
1. For the Shaker piece, start with a piece of Very Vanilla card stock measuring 3 1/2"x 3 1/2". Stamp greeting using Poppy Parade ink in the center. Stamp small leaves around the greeting using Mossy Meadow ink. 2. For the card front, start with a piece of Very Vanilla
card stock measuring 3 3/4" x 3 3/4". Punch or cut out a circle using a 2 1/2" Circle Punch or Big Shot, and Circle Thinlits die. Stamp small flowers using Poppy Parade, Mossy Meadow, and Grapefruit Grove inks.
3. Attach a piece of Window Sheet to the back side, covering the hole. Rub an Embossing Buddy over the inside of the window sheet. This will cut down on static electricity so your paper bits won't jump to the window sheet
once the piece is put together. 4. Attach strips of Adhesive Foam Strips along the edges of the shaker piece, and peel off the backing. Carefully place the shaker bits in the center. I used the paper bits removed from cutting out the detailed leaves, but small beads, sequins, and glitter are alternatives. Place the card front over the shaker piece, securing it to the strips of Adhesive Foam. Attach to a 4"x 4" Mossy Meadow mat.
Attach to 4 1/4" x 4 1/4" Grapefruit Grove card base. 5. Cut a ring out of Mossy Meadow card stock using the Big Shot, and two nested circle thinlits dies. Attach the ring around the circle cut-out using a small amount of Fine Tip Glue or Tombow Multi-purpose glue.
6. Stamp leaves onto Poppy Parade and Grapefruit Grove card stock using Poppy Parade ink. Cut out using the Big Shot and
coordinating Detailed Leaves die. Attach to card front using Dimensionals to pop them up. Add a piece of ribbon tied to the stems to complete. Supplies Used: Stamp Set: Falling for Leaves
Paper: Grapefruit Grove, Mossy Meadow, Very Vanilla, Poppy Parade Accessories:
Big Shot, Circle Framelit Dies, Detailed Leaves Thinlits Die, 2 1/2" circle punch, Window Sheet, Adhesive Foam Strips, Embossing Buddy, paper bits, Tombow Mutli-purpose glue, Mossy Meadow ribbon (from my stash)
|
|
Click HERE to view detailed Shaker Card tutorial in a pdf format |
|
|
|