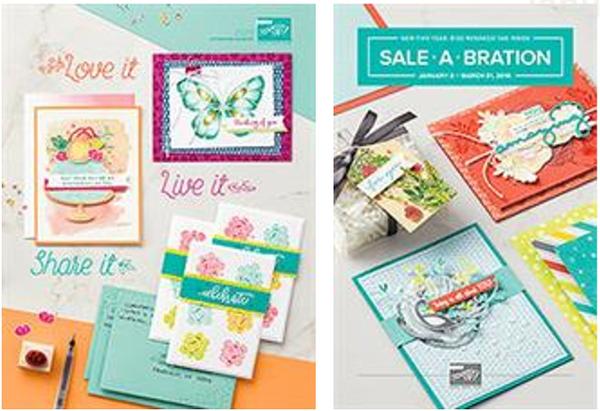
2018 Occasions and Sale-A-Bration
|
Happy March!
Sale-A-Bration ends on March 31.
During Sale-A-Bration, for every $50 spent, you'll be able to choose a free exclusive item out of the Sale-A-Bration Catalog.
Don't miss out!
Sale-A-Bration is a great time to stock up!
Please let me know if you have any questions: annehayward@stampingwithbluemooncreations.com
|
|
Shop 2018 Occasions and Sale-A-Bration Catalogs Here |
| |
N4WTY9DD
Orders using this hostess code will be combined.As always, if we have enough in sales to make the order a workshop ($150), we will have a Mystery Hostess.Please place your order online by March 25.I will notify our
hostess by e mail on March 26.The workshop will need to close on March 28. Happy Shopping!
|
|
Shop Online 24/7 |
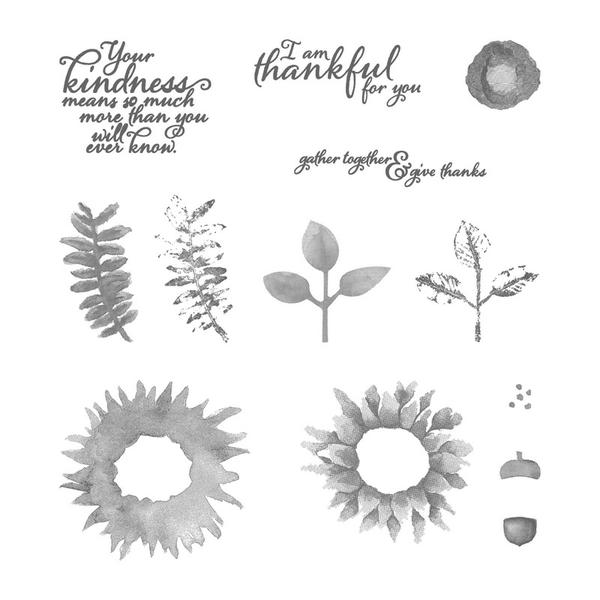
Product Spotlight-Painted Harvest Stamp Set |
Create a variety of colored flowers using this two-step stamp set. Perfect for all seasons and any occasion.
|
|
Shop Painted Harvest stamp set online |
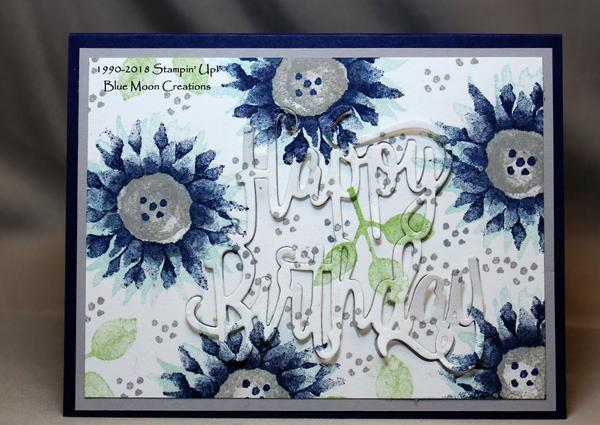
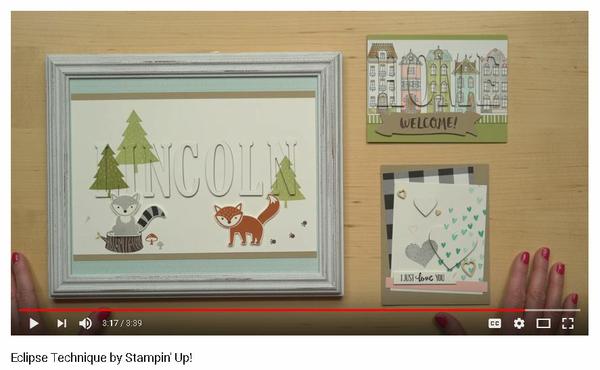
Painted Harvest Eclipse Technique |
The Eclipse Technique is all the rage. Cut out a shape using punches or dies, and then layer the pieces back into the negative space to create dimension. It's like working a puzzle! It can be a little time-consuming especially if you have a lot of little
pieces like the Happy Birthday Thinlits Die I used for the project above. But, it is one of those WOW! projects, so the extra time is worth it! 1. Stamp first flower stamp in the two-step stamp, Painted Harvest using Sky Blue ink on Whisper White card front. This is the larger solid image of the two stamps. Over-stamp smaller detailed stamp using Night of Navy ink. Stamp solid leaf image using Wild Wasabi ink. Over-stamp
outline leaf stamp using Old Olive ink. Stamp dots randomly to fill in the spaces using Smoky Slate ink. Stamp dots image in the center of the flowers using Night of Navy ink. 2. Place Happy Birthday Thinlits die over the stamped image and cut out using the Big Shot. 3. Remove the cut image from the die using a paper piercing tool. A Big Shot Die Brush and mat pad will work
also. Be sure to save all the little pieces that come out of the die. You will need these as you put the greeting back together. 4. Attach card front to Smoky Slate card stock mat. 5. Apply cut pieces of Foam Adhesive Strips to the back side of the cut out "Happy Birthday." You can also use Mini Dimesionals, but you'll need to cut them in half, so they don't show on the
front. Try to place them on the largest parts of the cut-out. Peel off the backing on the Foam Adhesive Strips, and attach greeting to the negative space on the card front. 6. Begin placing the little pieces back in place. Apply a small amount of Tombow Multi-purpose glue on the Smoky Slate matting, carefully placing the pieces. Use the paper piercing tool to move the pieces in place if needed. You want the "Happy Birthday"
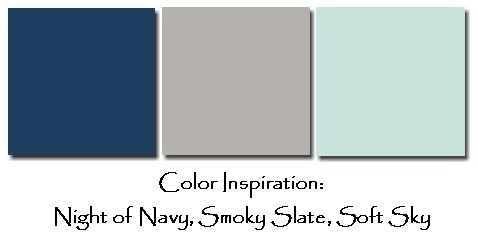
cut-out to be popped up, with the little pieces flat on the matting. 7. Once all the pieces are in place, and the glue has dried, carefully pop-up the cut-out using the paper piercing tool around the edges if needed. 8. Attach to Night of Navy card base to complete. Supplies Used: Stamp Set: Painted Harvest Ink: Soft Sky, Night of Navy, Smoky Slate, Wild Wasabi, Old Olive Paper: Night of Navy, Smoky Slate, Whisper White, So Saffron, Basic Black, Whisper
White
Accessories: Big Shot, Happy Birthday Thinlits Die, Foam Adhesive Strips, Tombow Multi-purpose Glue, paper piercing tool |
|
Click HERE for a step by step Eclipse Card tutorial in a pdf format |
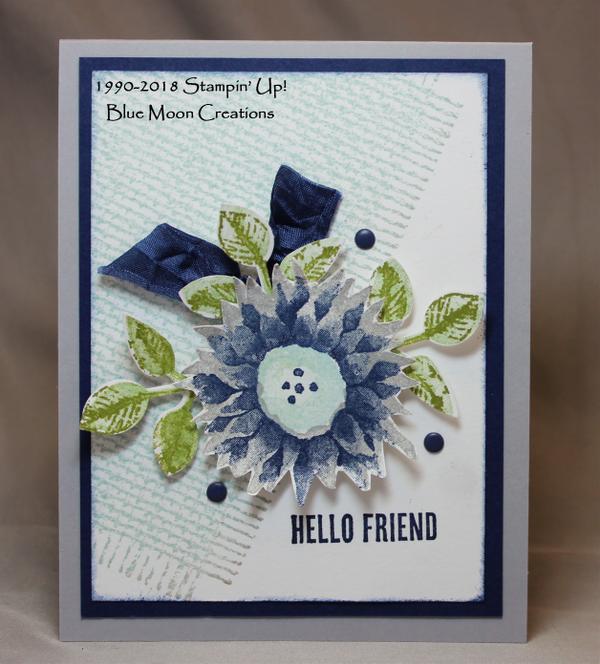
Burlap Background Painted Harvest
|
1.Stamp large, solid flower on a scrap piece of Whisper White card stock using Smoky Slate ink. Over-stamp the detail image using Night of Navy ink. Stamp the center using Soft Sky ink. Add dots using Night of Navy ink. Fussy cut using a pair of scissors.
2. Stamp 3 solid leaf images on a scrap piece of Whisper White card stock using Wild Wasabi ink.
Over-stamp using the outline stamp using Old Olive ink. Punch leaves out using the Leaf Punch.
3. Stamp the Burlap background stamp onto Whisper White card front using Soft Sky ink.
4. Tie a knot in the center of a short piece of Night of Navy 5/8" Crinkled Seam Binding. Add a glue dot to the knot and place onto the card front. Attach the cut flower using 2 Mini
Dimensionals, one on top of the other, to pop it up. Add Mini Dimensionals to the base of the punched leaves. Tuck the leaves behind the flower.
5. Stamp greeting from Wood Words below flower using Night of Navy ink. Add color to the edges of the card front using a sponge and Night of Navy ink. Attach card front to Night of Navy mat. Attach card front to Smoky Slate card base. Add enamel dots to
complete Supplies Used:Stamp Sets: Painted Harvest, Burlap Background, Wood Words
Ink: Smoky Slate, Night of Navy, Soft Sky, Wild Wasabi, Old Olive
Paper: Smoky Slate, Night of Navy, Whisper White
Accessories: Leaf punch, 5/8" Crinkled Seam
Binding, sponge, enamel dots, glue dots, Mini Dimensional
|
|
|
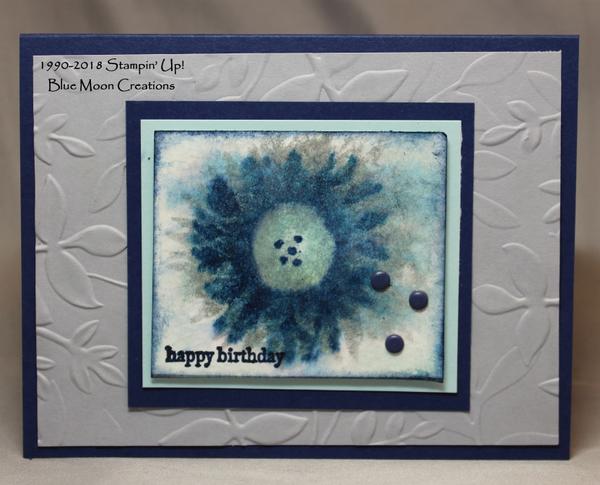
Painted Harvest Abstract Watercolor
|
1. Spritz watercolor paper with water. Ink up large solid flower with Smoky Slate ink. Spritz with
water, then stamp onto the watercolor paper. Let the stamp set for a few seconds, then lift off. The Smoky Slate ink should run and pool.
2. Ink up the detail stamp with Night of Navy. Spritz with water, then over-stamp onto the Smoky Slate. Let the stamp set for a few seconds, then lift off. The Night of Navy ink should pool and run
3. Stamp the center of the flower
using Soft Sky ink. Stamp the dot image using Night of Navy ink. 4. With an aqua painter, add some Soft Sky ink around the flower. Set the piece aside to dry completely. 5. Emboss the Smoky Slate card stock using the Big Shot and Layered Leaves Embossing Folder. Attach to Night of Navy card base. 6. Sponge the edges of the card front using
Night of Navy ink. Stamp greeting from Teeny Tiny Wishes onto card front using Night of Navy ink. Attach to Blue Sky mat using Mini Dimensionals to pop it up. Attach to Night of Navy mat, then to Smoky Slate. 7. Apply clear Wink of Stella over the card front, adding a bit of shimmer. Add enamel dots to complete.
Supplies Used: Stamp Sets: Painted Harvest, Teeny Tiny WishesInk: Smoky Slate, Night of Navy, Soft Sky Paper: Night of Navy, Smoky Slate, Soft Sky, watercolor paper Accessories: spritzer bottle with water, Big Shot, Layered Leaves Embossing Folder, sponge, Mini Dimensionals, clear Wink of Stella, enamel dots |
|
|
|
|
|