| |
Happy December!
Wishing a bright and happy holiday to you and those you love!
Going, going...Retiring Holiday Items and year-end sale!
Stampin' Up! has announced the list of
retiring product from the Holiday Catalog. Also, they have discounted select retiring and surplus items.
The retiring and year-end sales items are available through January 2 or while supplies last.
Don't delay, shop today!
Please let me know if you have any questions: annehayward@stampingwithbluemooncreations.com
|
|
Shop the Year-End Sales Event Here |
| |
3XYRJWZ7
Orders using this hostess code will be combined.
As always, if we have enough in sales to make the order a workshop ($150), we will have a Mystery Hostess.Please place your order online
by December 25.I will notify our hostess by e mail on December 26.The workshop will need to close by December 28. Happy Shopping!
|
|
Shop Online 24/7 |
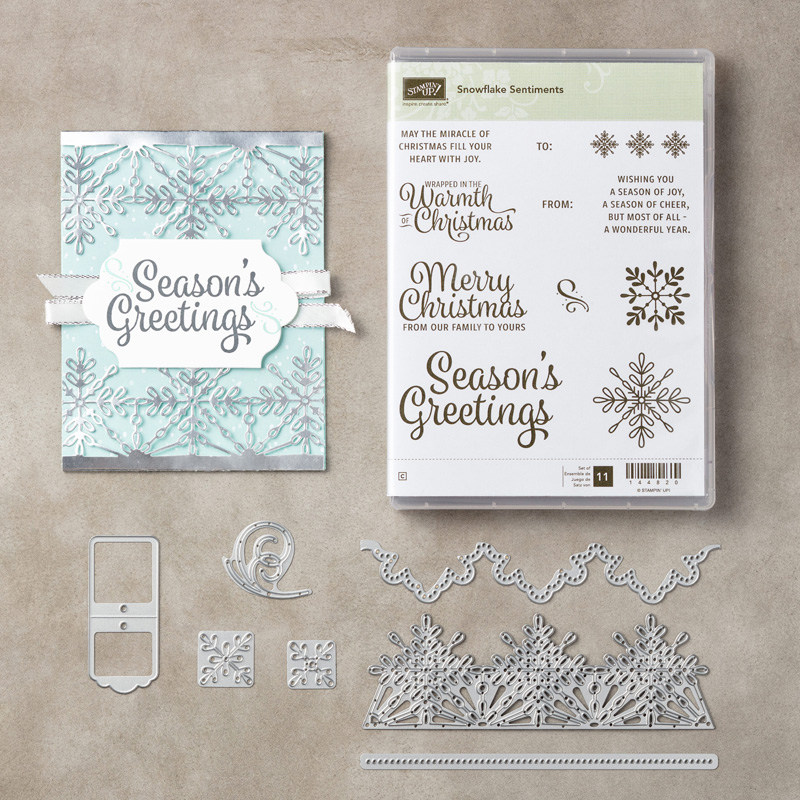
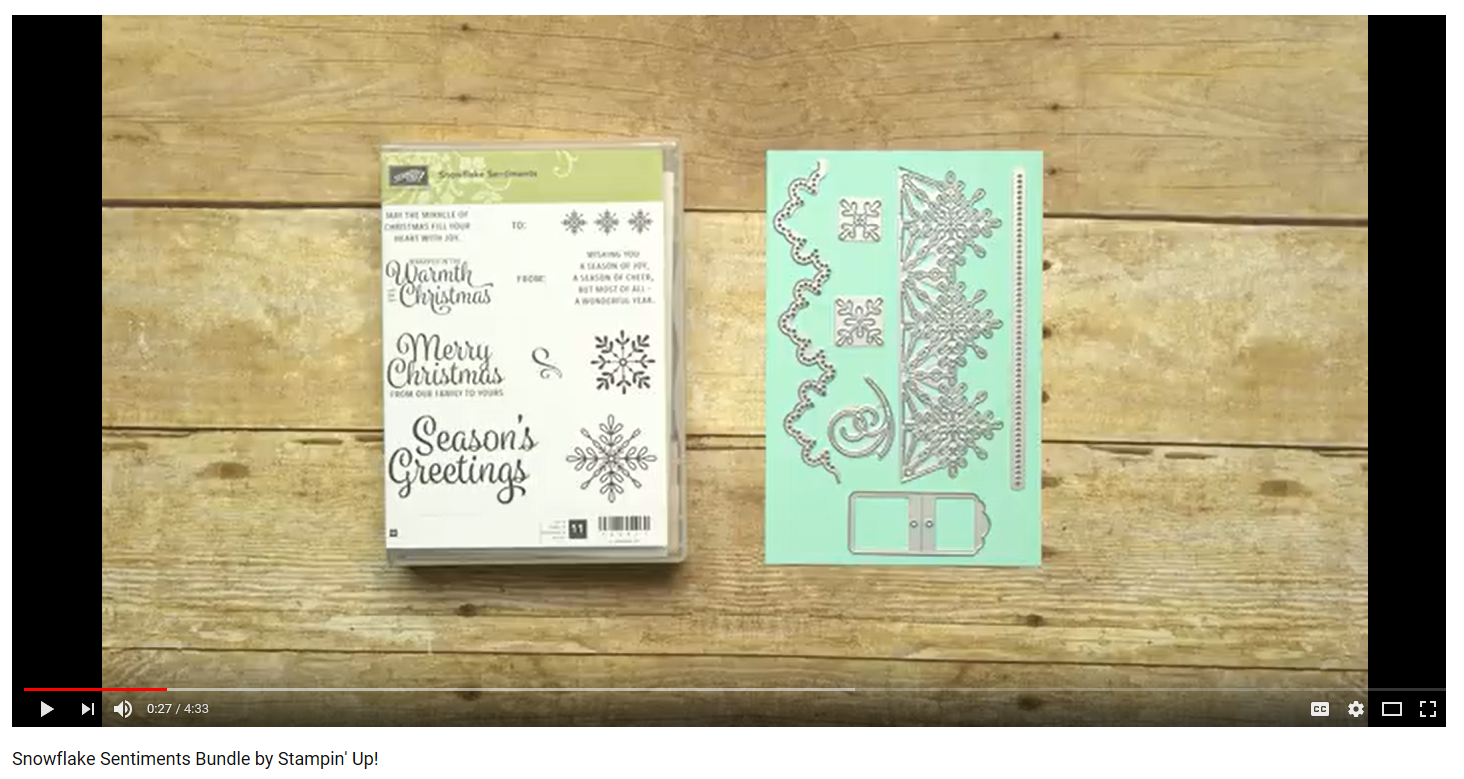
Product Spotlight-Snowflakes Sentiments Bundle
|
Create beautiful holiday cards and winter-themed decor with the Snowflake Sentiments Bundle containing the Snowflake Sentiments stamp set and coordinating Swirly Snowflakes Thinlits Die. Snowflake Sentiments
stamp set and Swirly Snowflakes Thinlits Dies can be purchased separately, but if purchased as a bundle, you'll save 10%!
|
|
Shop Online Snowflake Sentiments |
| |
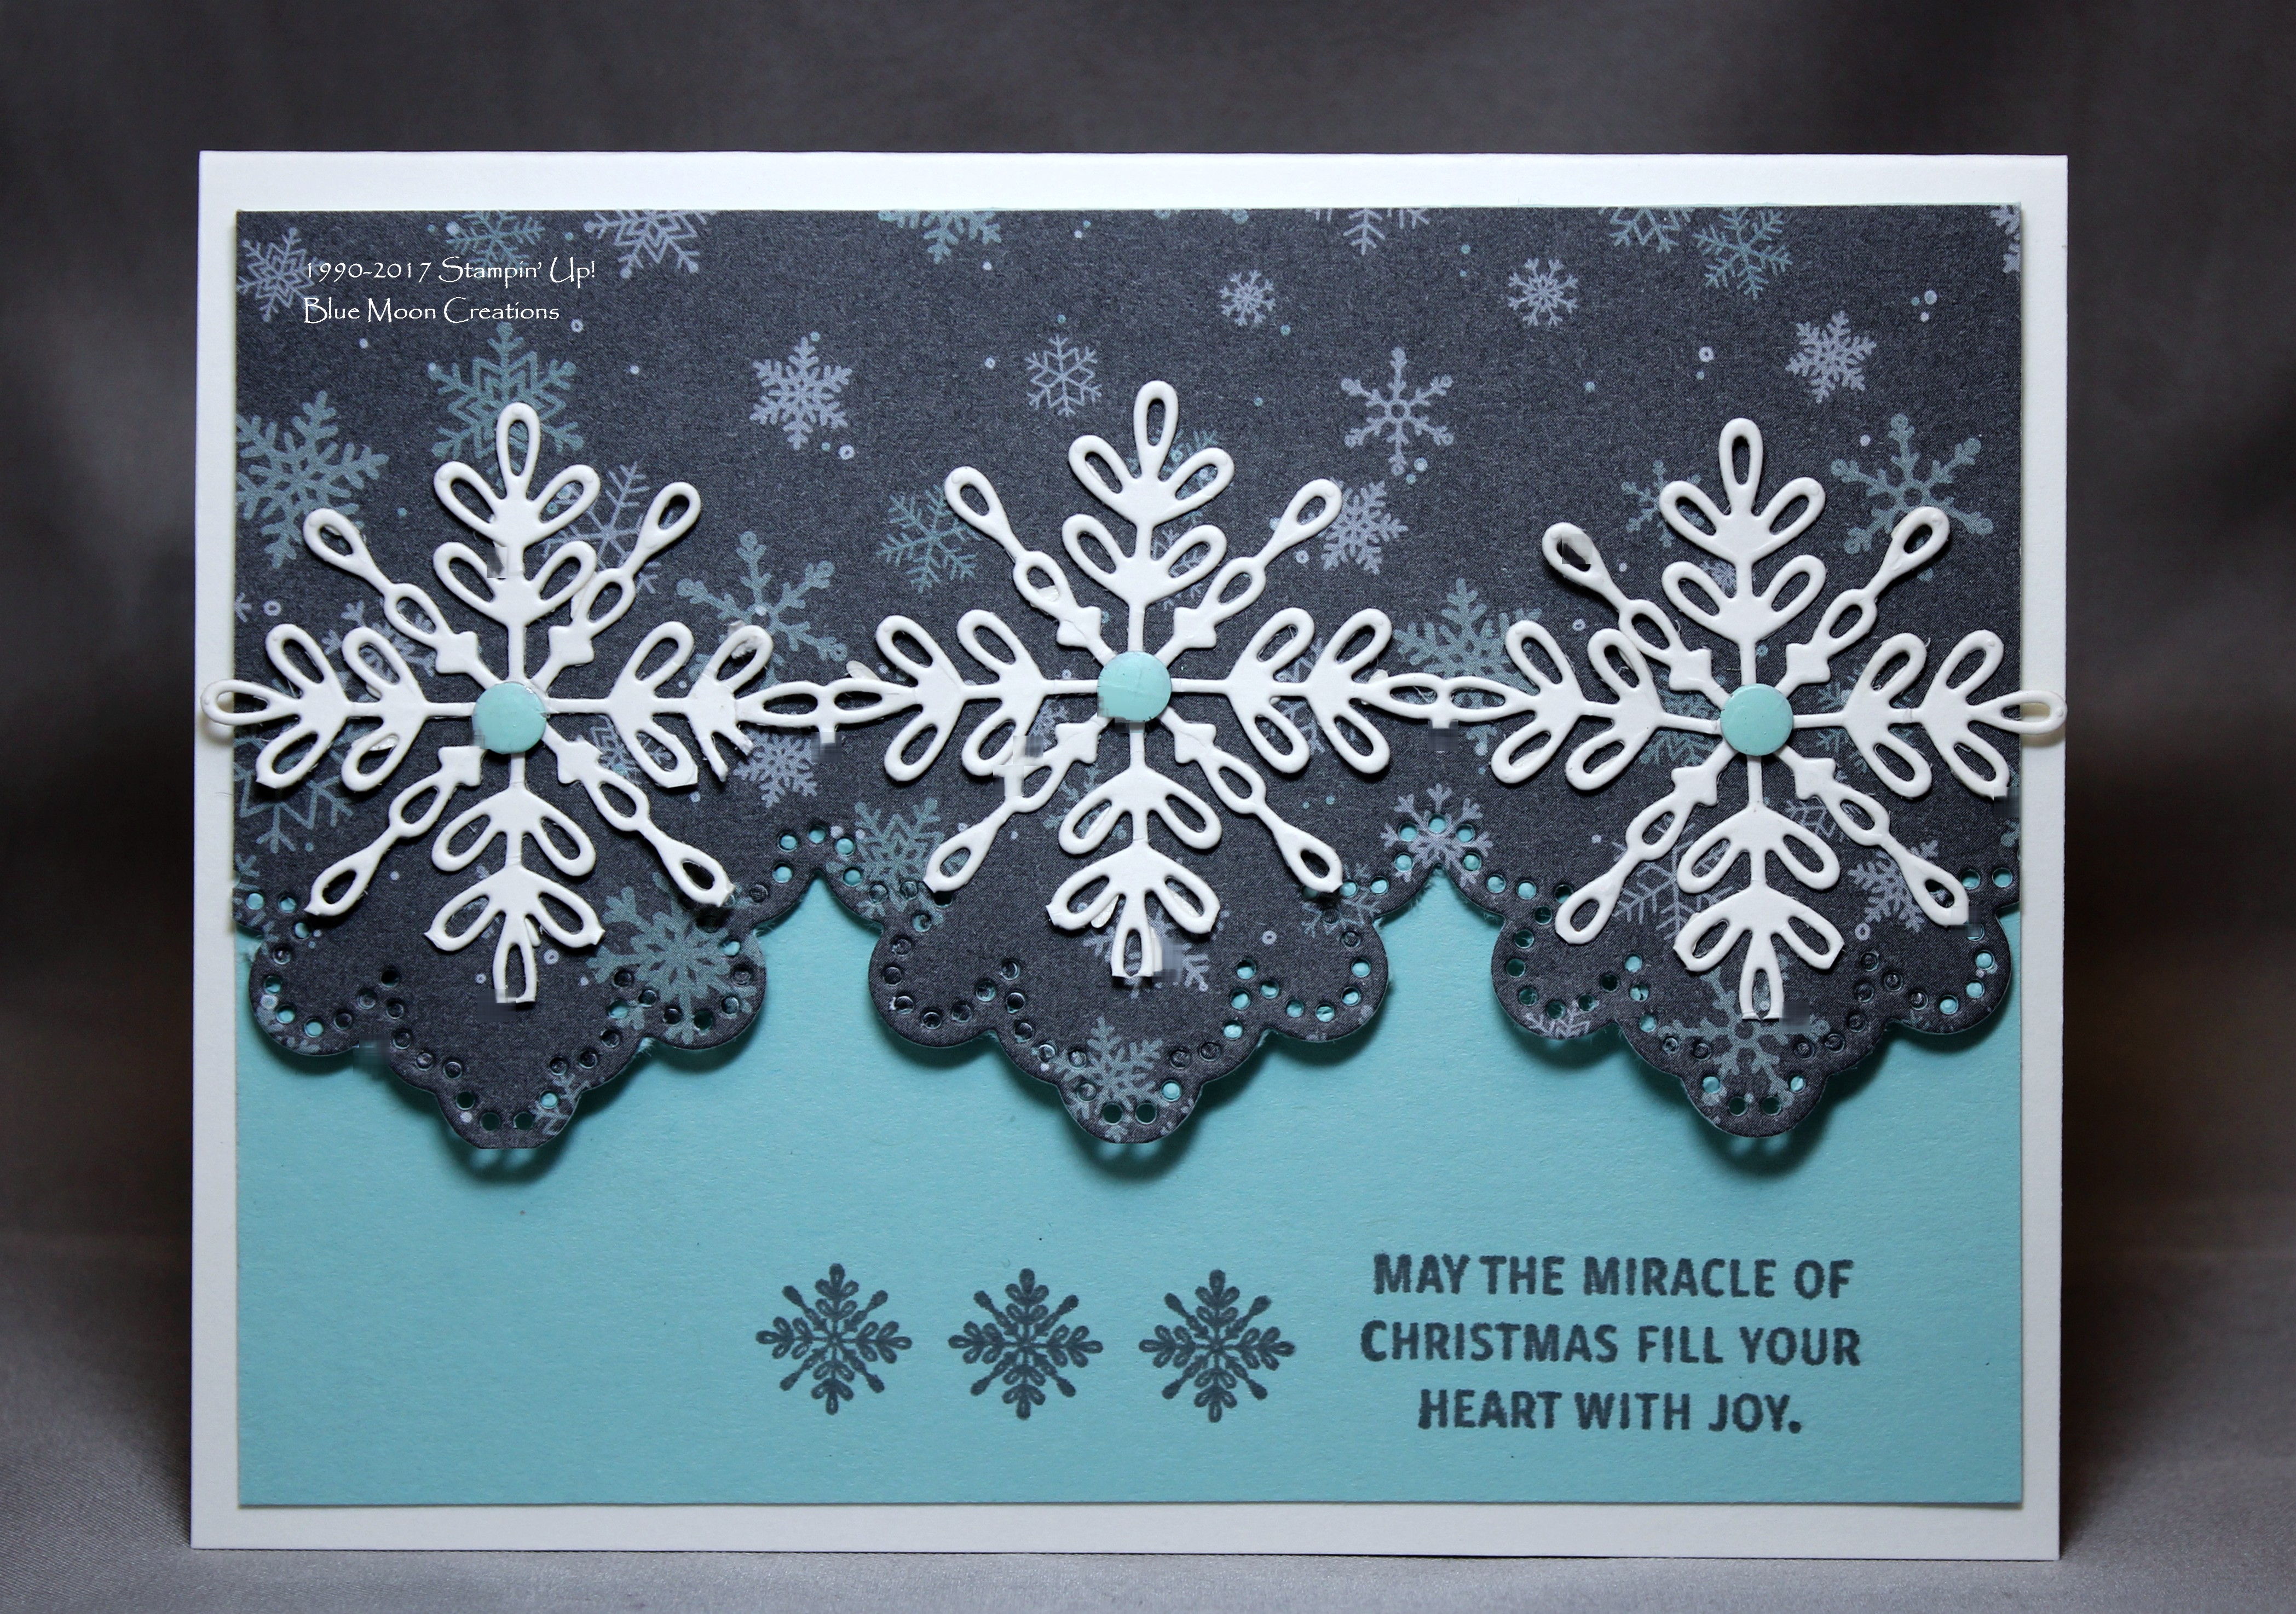
1.Cut Pool Party card base measuring 8 1/2" x 5 1/4". Score at 4 1/4". Place card base into paper cutter and trim off at 7", leaving a
2 3/4" panel.
2. Cut a piece of Christmas Around the World Designer Series Paper measuring 2 3/4" x 5 1/4", and attach to the 2 3/4" panel on the Pool Party card base 3. Place border Swirly Snowflake Thinlits Die on the edge of the panel and cut out using the Big Shot. Remove dots pieces using a paper piercing tool as needed. 4. Cut a piece of
Multi-purpose Adhesive Sheet and Very Vanilla card stock the same size. Remove the printed backing on the adhesive sheet exposing the sticky back. Place Very Vanilla card stock onto the sticky back to secure. 5. Cut snowflakes using the trio of snowflakes thinlits die and the Big Shot. Carefully remove the snowflakes, trimming away the excess pieces using a pair of scissors. Peel off the other side of the adhesive sheet
backing and apply snowflakes to the front of the card.
6. Using the scallop border for placement, stamp greeting and snowflakes from Snowflake Sentiments on the bottom edge of the Pool Party card front using Basic Gray ink. Secure the scallop border down using Dimensionals underneath each scallop to pop them up. Attach to 5 1/2" x 4 1/4" Very Vanilla card base. 7. Attach dots to snowflakes
to complete. Supplies Used:
Stamp Set: Snowflake Sentiments
Ink: Basic Gray Paper: Pool Party, Very Vanilla, Christmas Around the World Designer Series Paper Accessories: Big Shot, Swirly Snowflake Thinlits Dies, Multi-purpose Adhesive
Sheet, paper piercing tool, Dimensionals, enamel dots
|
|
|
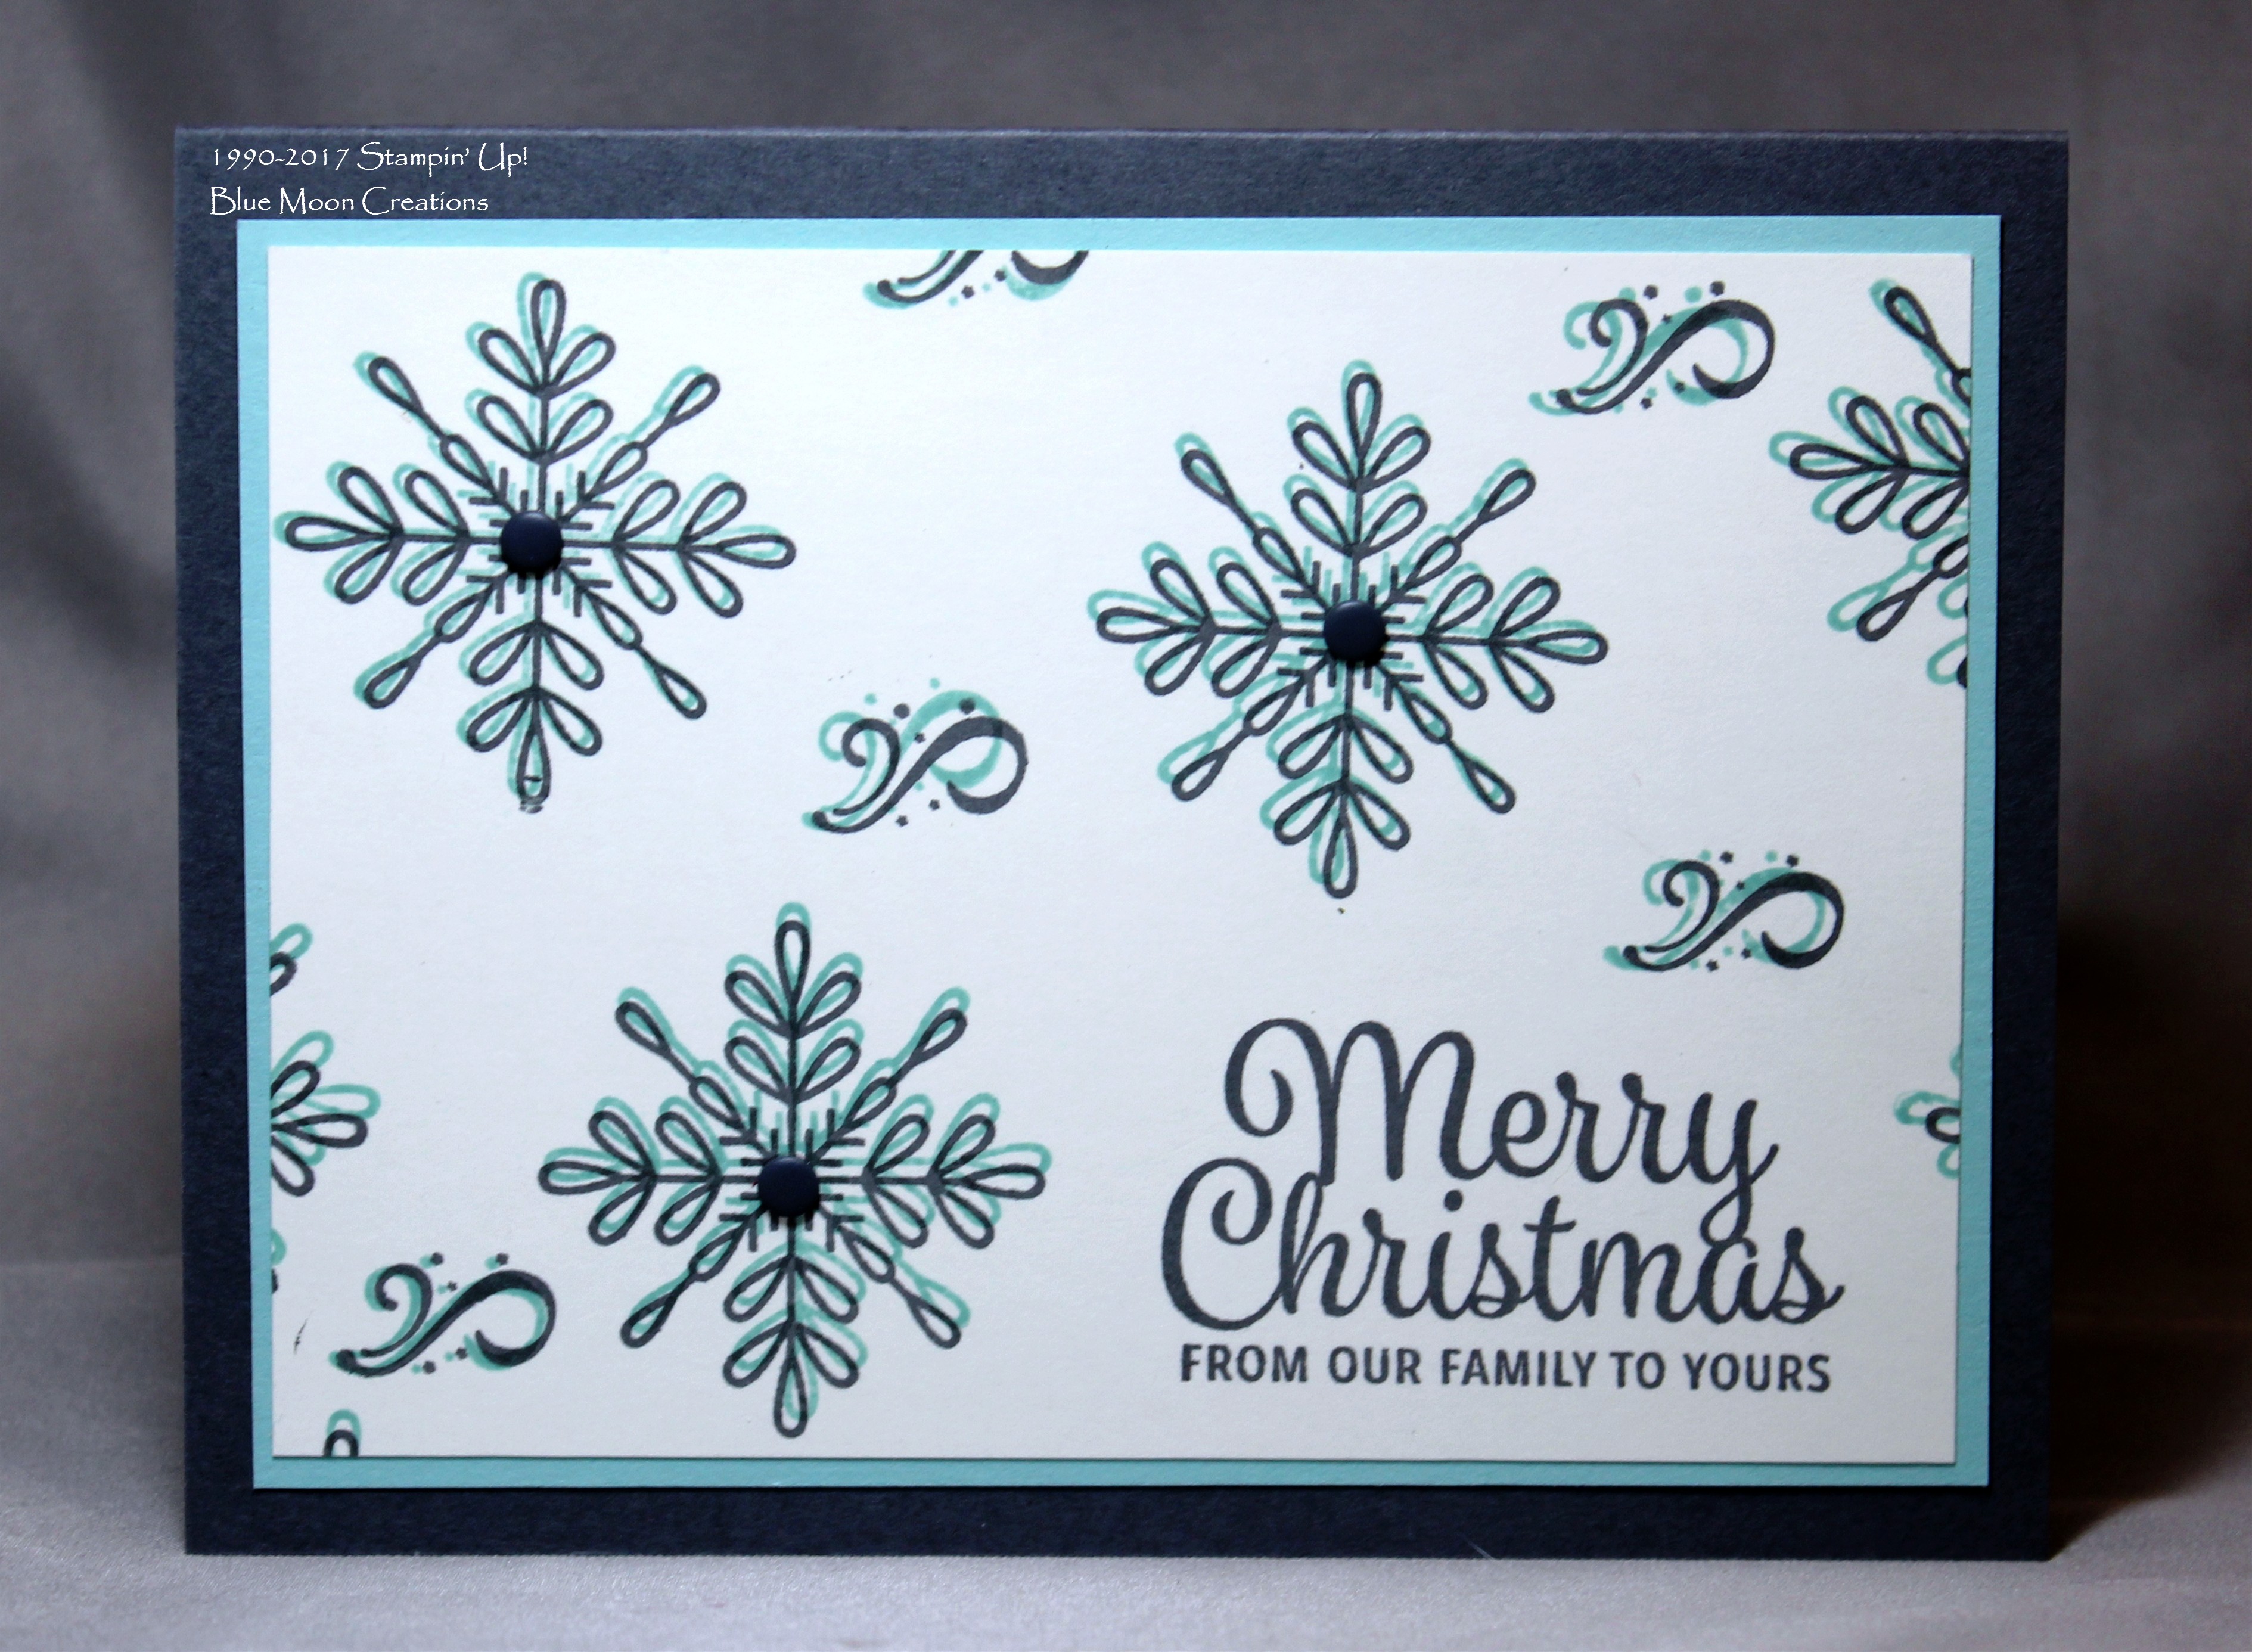
Ghosting Technique Swirly Snowflakes
|
Create the illusion of a shadow behind the main stamped image focal point using the Ghosting
Technique.
1. Stamp greeting from Snowflake Sentiments onto Very Vanilla card front using Basic Gray ink. 2. To create the ghosting effect, first stamp snowflakes and swirls onto Very Vanilla card front using Pool Party ink. Then, re-stamp the snowflake image over the Pool Party images using Basic Gray ink. 3. Adhere card front to Pool Party
mat. Attach to Basic Gray card base. 4. Apply dots in the center of the snowflakes to complete. Stamp Set: Snowflake SentimentsInk: Basic Gray, Pool Party
Paper: Basic Gray, Pool Party, Very Vanilla
Accessories: Big Shot, Swirly Snowflakes Thinlits Dies, enamel
dots
|
|
|
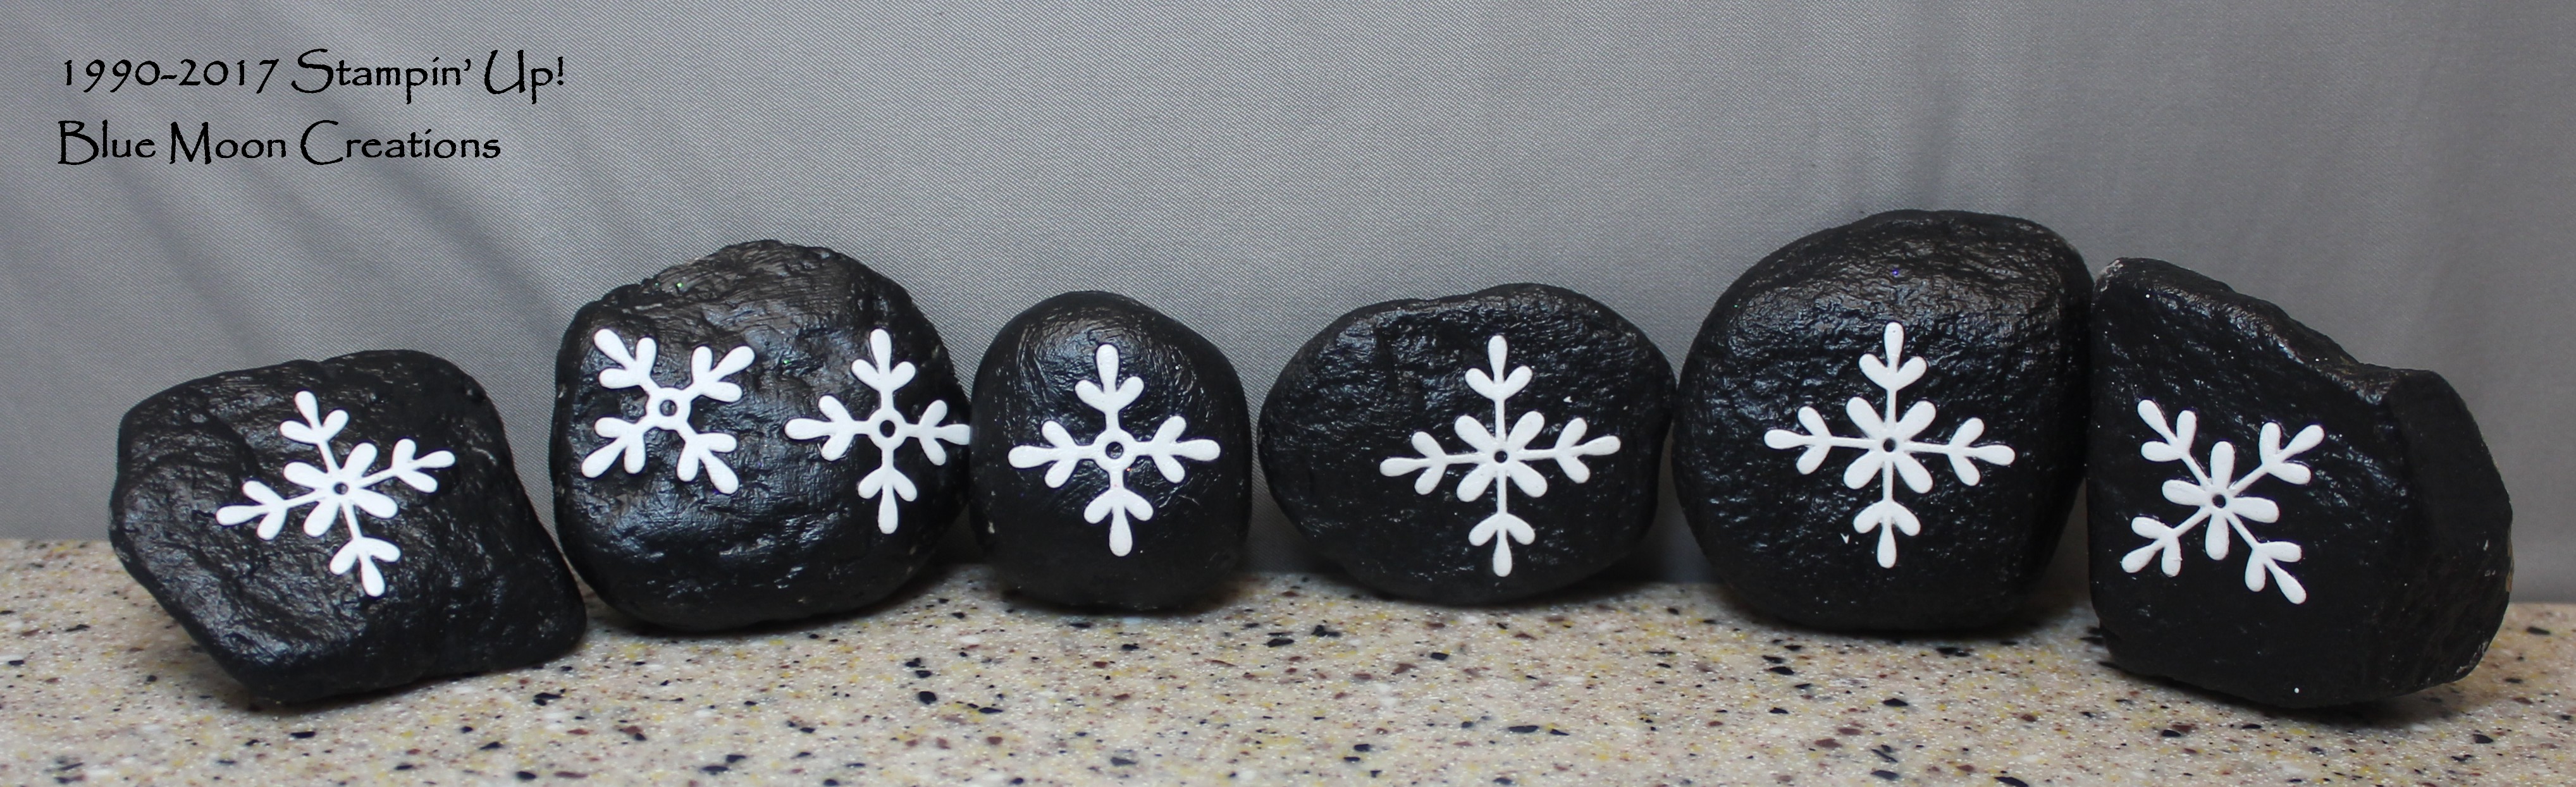
Decoupaged Swirly Snowflakes Painted Rocks
|
There's a big painted rock movement here in southern Colorado (and maybe in your
part of the world too!) Collect and paint rocks. Then, leave them in public spaces for others to find. They, in turn, can leave the rocks elsewhere for someone else to find. Or keep them. Either way, hopefully, the painted rocks will bring a smile. I have been a paper-crafter for a long time. I'm not a painter, and sometimes I don't have much confidence in my painting skills. I decided to make things a little easier on myself. I used the Big Shot,
Swirly Snowflakes Thinlits die, and a piece of adhesive sheet to cut out sticky-backed Whisper White snowflakes, then securing them to the rocks. Easy!
1. Collect and wash rocks. Paint rocks using black acrylic paint
2. Peel off backing on a piece of Multi-purpose Adhesive Sheet, and attach a
piece of Whisper White card stock cut to the same size.
3. Cut out snowflakes using the Big Shot and Swirly Snowflakes Thinlits Dies. 4. Remove snowflakes from the dies. Peel off the other side of the adhesive sheet, exposing more sticky backing. Place snowflakes onto the rocks, securing and smoothing down the pieces using your fingers.
5. Apply a layer of decoupage over the snowflakes and rest of rock to seal. Set aside to dry completely. Apply another layer of decoupage if desired. 6. Place rocks in a tote in your car, so they will be with you on your travels. Place rocks in public spaces for others to find and share.
Supplies Used:Paper: Whisper White Accessories: rocks, black acrylic paint, paint brush, Big Shot, Swirly Snowflake Thinlits dies, Multi-purpose Adhesive Sheets, decoupage medium
|
|
|
Video Training-Snowflake Sentiments Bundle |
Stampin' Up! trainer, Donna, shares details and ideas for using the Snowflakes Sentiments Bundle.
|
|
|
|
|
|