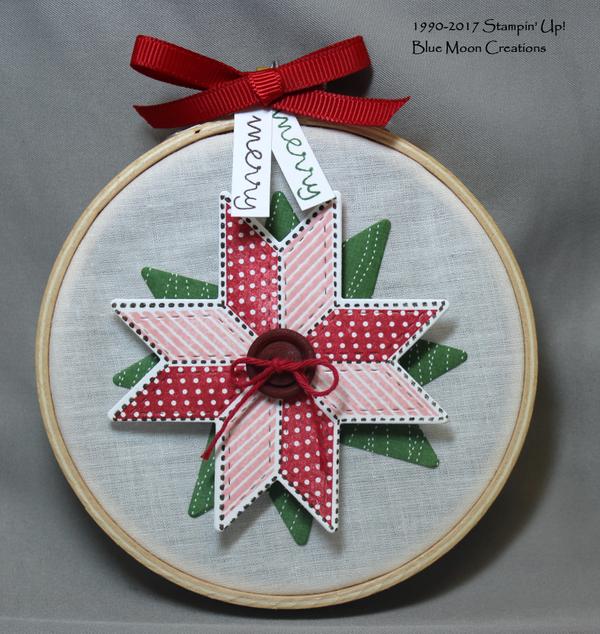
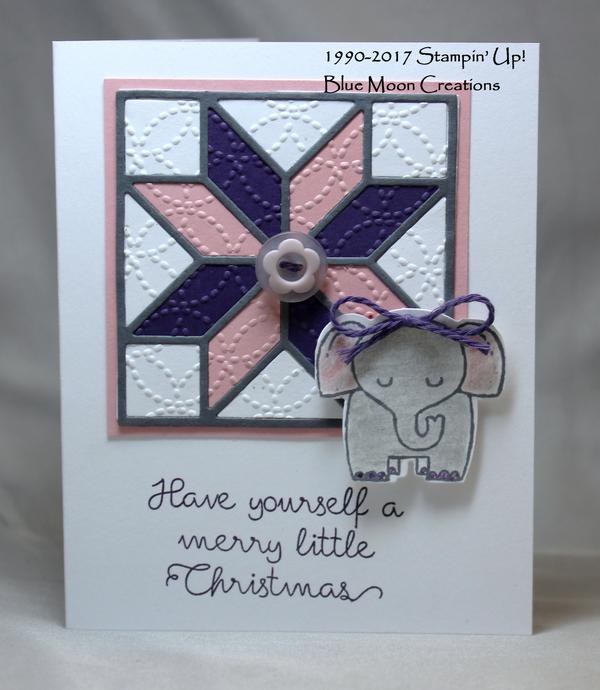
I was so excited to see the Quilted
Christmas embroidery hoop sample in the Holiday Catalog. I happen to have a supply of small embroidery hoops in my crafting stash. They were waiting for the right project to come along!
1. Stamp outline of star onto Whisper White card stock using Early Espresso ink.
2. Stamp polka dot image inside outline using Real Red ink. Stamp stripes image inside outline using Blushing Bride
ink. The Christmas Quilt stamp set is photopolymer, making lining up the images easy.
3. Place star framelit over stamped star. Nest stitching framelit inside the star framelit. Cut out using the Big Shot.
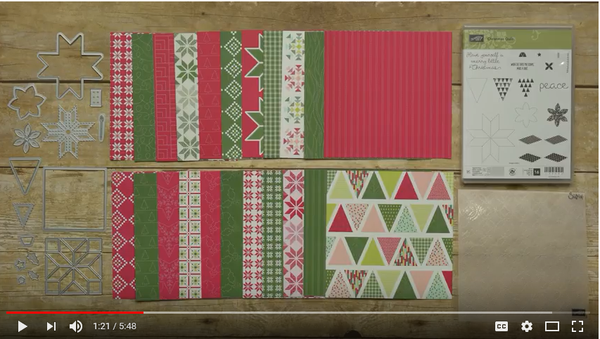
4. Cut another star out of a piece of Quilted Christmas 6"x6" Designer Series Paper using the star framelit and Big Shot.
5. Insert a
piece of muslin fabric into the embroidery hoop and tighten the screw at the top.
6. Attach DSP star to the fabric. I used Tombow Glue. Layer stamped star using Dimensionals to pop it up.
7. Stamp greeting from Christmas Quilt stamp set on scrap piece of paper. Stamp once using Early Espresso ink. Stamp again using Garden Green ink. Cut the "Merry" from both greetings. Attach
together, and punch a hole using a small hole punch. Thread baker's twine through the hole and tie to the screw at the top of the embroidery hoop. Tie a bow out of ribbon and attach to the top of the embroidery hoop using a Glue Dot.
8. Thread baker's twine through the holes of a button and attach to the center of the quilted star using a Glue Dot.
9. Trim the muslin fabric close to the
embroidery hoop using a pair of fabric scissors to complete.
Supplies Used:
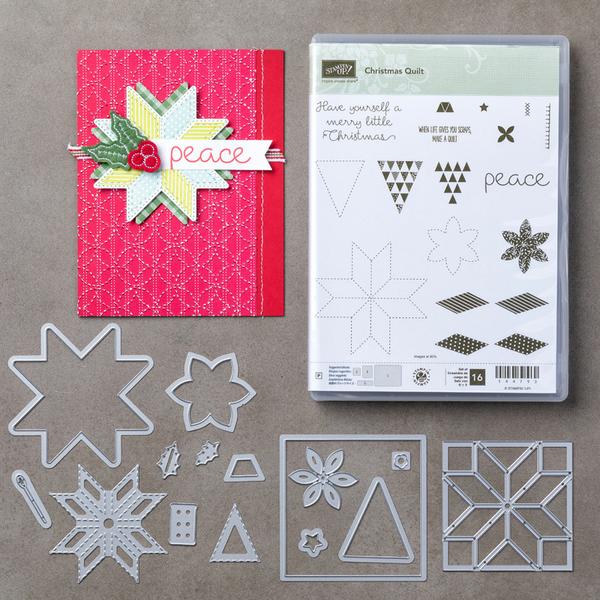
Stamp Set: Christmas Quilt
Ink: Real Red, Blushing Bride, Garden Green, Early Espresso
Paper: Whisper White, Quilted Christmas 6"x6" Designer Series Paper
Accessories: Big
Shot, Quilt Builder Framelits Dies, embroidery hoop, muslin fabric, baker's twine, ribbon, and button from my stash, Tombow Multi-purpose Glue, Dimensionals, Glue Dots, hole punch