Polished StoneTechnique-Fresh Card Making Idea

Published: Tue, 08/15/17

Fresh Ideas for Card Making
Polished Stone Background Technique


Hooray! 
Stampin' Up! is carrying glossy card stock again!  Glossy card stock can be used for numerous background techniques.  My all-time favorite is Polished Stone, one of the first stamping techniques I learned many, many years ago.  


Polished Stone Supplies Needed


Here's what you need:
glossy card stock
ink refills
cotton ball
rubbing alcohol

That's it!

The colors I chose for this project were Perfect Plum, Marina Mist, and Wild Wasabi.

Color combination possibilities are endless!

Polished Stone Step 1


1. Place a cotton ball over the opening of the alcohol, tip the bottle a couple of times making sure the cotton ball is wet.
 Add a drop or two of reinker onto the wet cotton ball.  The first color I used was Perfect Plum.

Polished Stone Step 2


2. Dab the cotton ball randomly onto the glossy card stock. The alcohol will make the ink pool as you dab, then begin to run.


Polished Stone Step 3


3. Wet another cotton ball with alcohol and add a drop of your second color.  My second color was Marina Mist.  Dab the cotton ball randomly over the glossy card stock.  This color will pool and run and blend with the first color.


Polished Stone Step 4


4. Wet another cotton ball with alcohol and add a drop of your third color.  My third color was Wild Wasabi.  Dab the cotton ball randomly over the glossy card stock.  This color will pool and run and blend with the first two colors.


Polished Stone Step 5


5. This is what my piece looked like after I added the three colors. 

Dab a clean cotton ball to remove any puddles. Set the piece aside to dry completely.  The alcohol/ink will dry fairly quickly.
You can add more of your colors if desired to fill in spaces or even out the design.  

Option: You can also apply 2 or more drops of reinkers to the wet cotton ball and dab on all colors at the same time.  Be careful though if using more than 2 colors.  You don't want them to become muddy.


Polished Stone Step 6


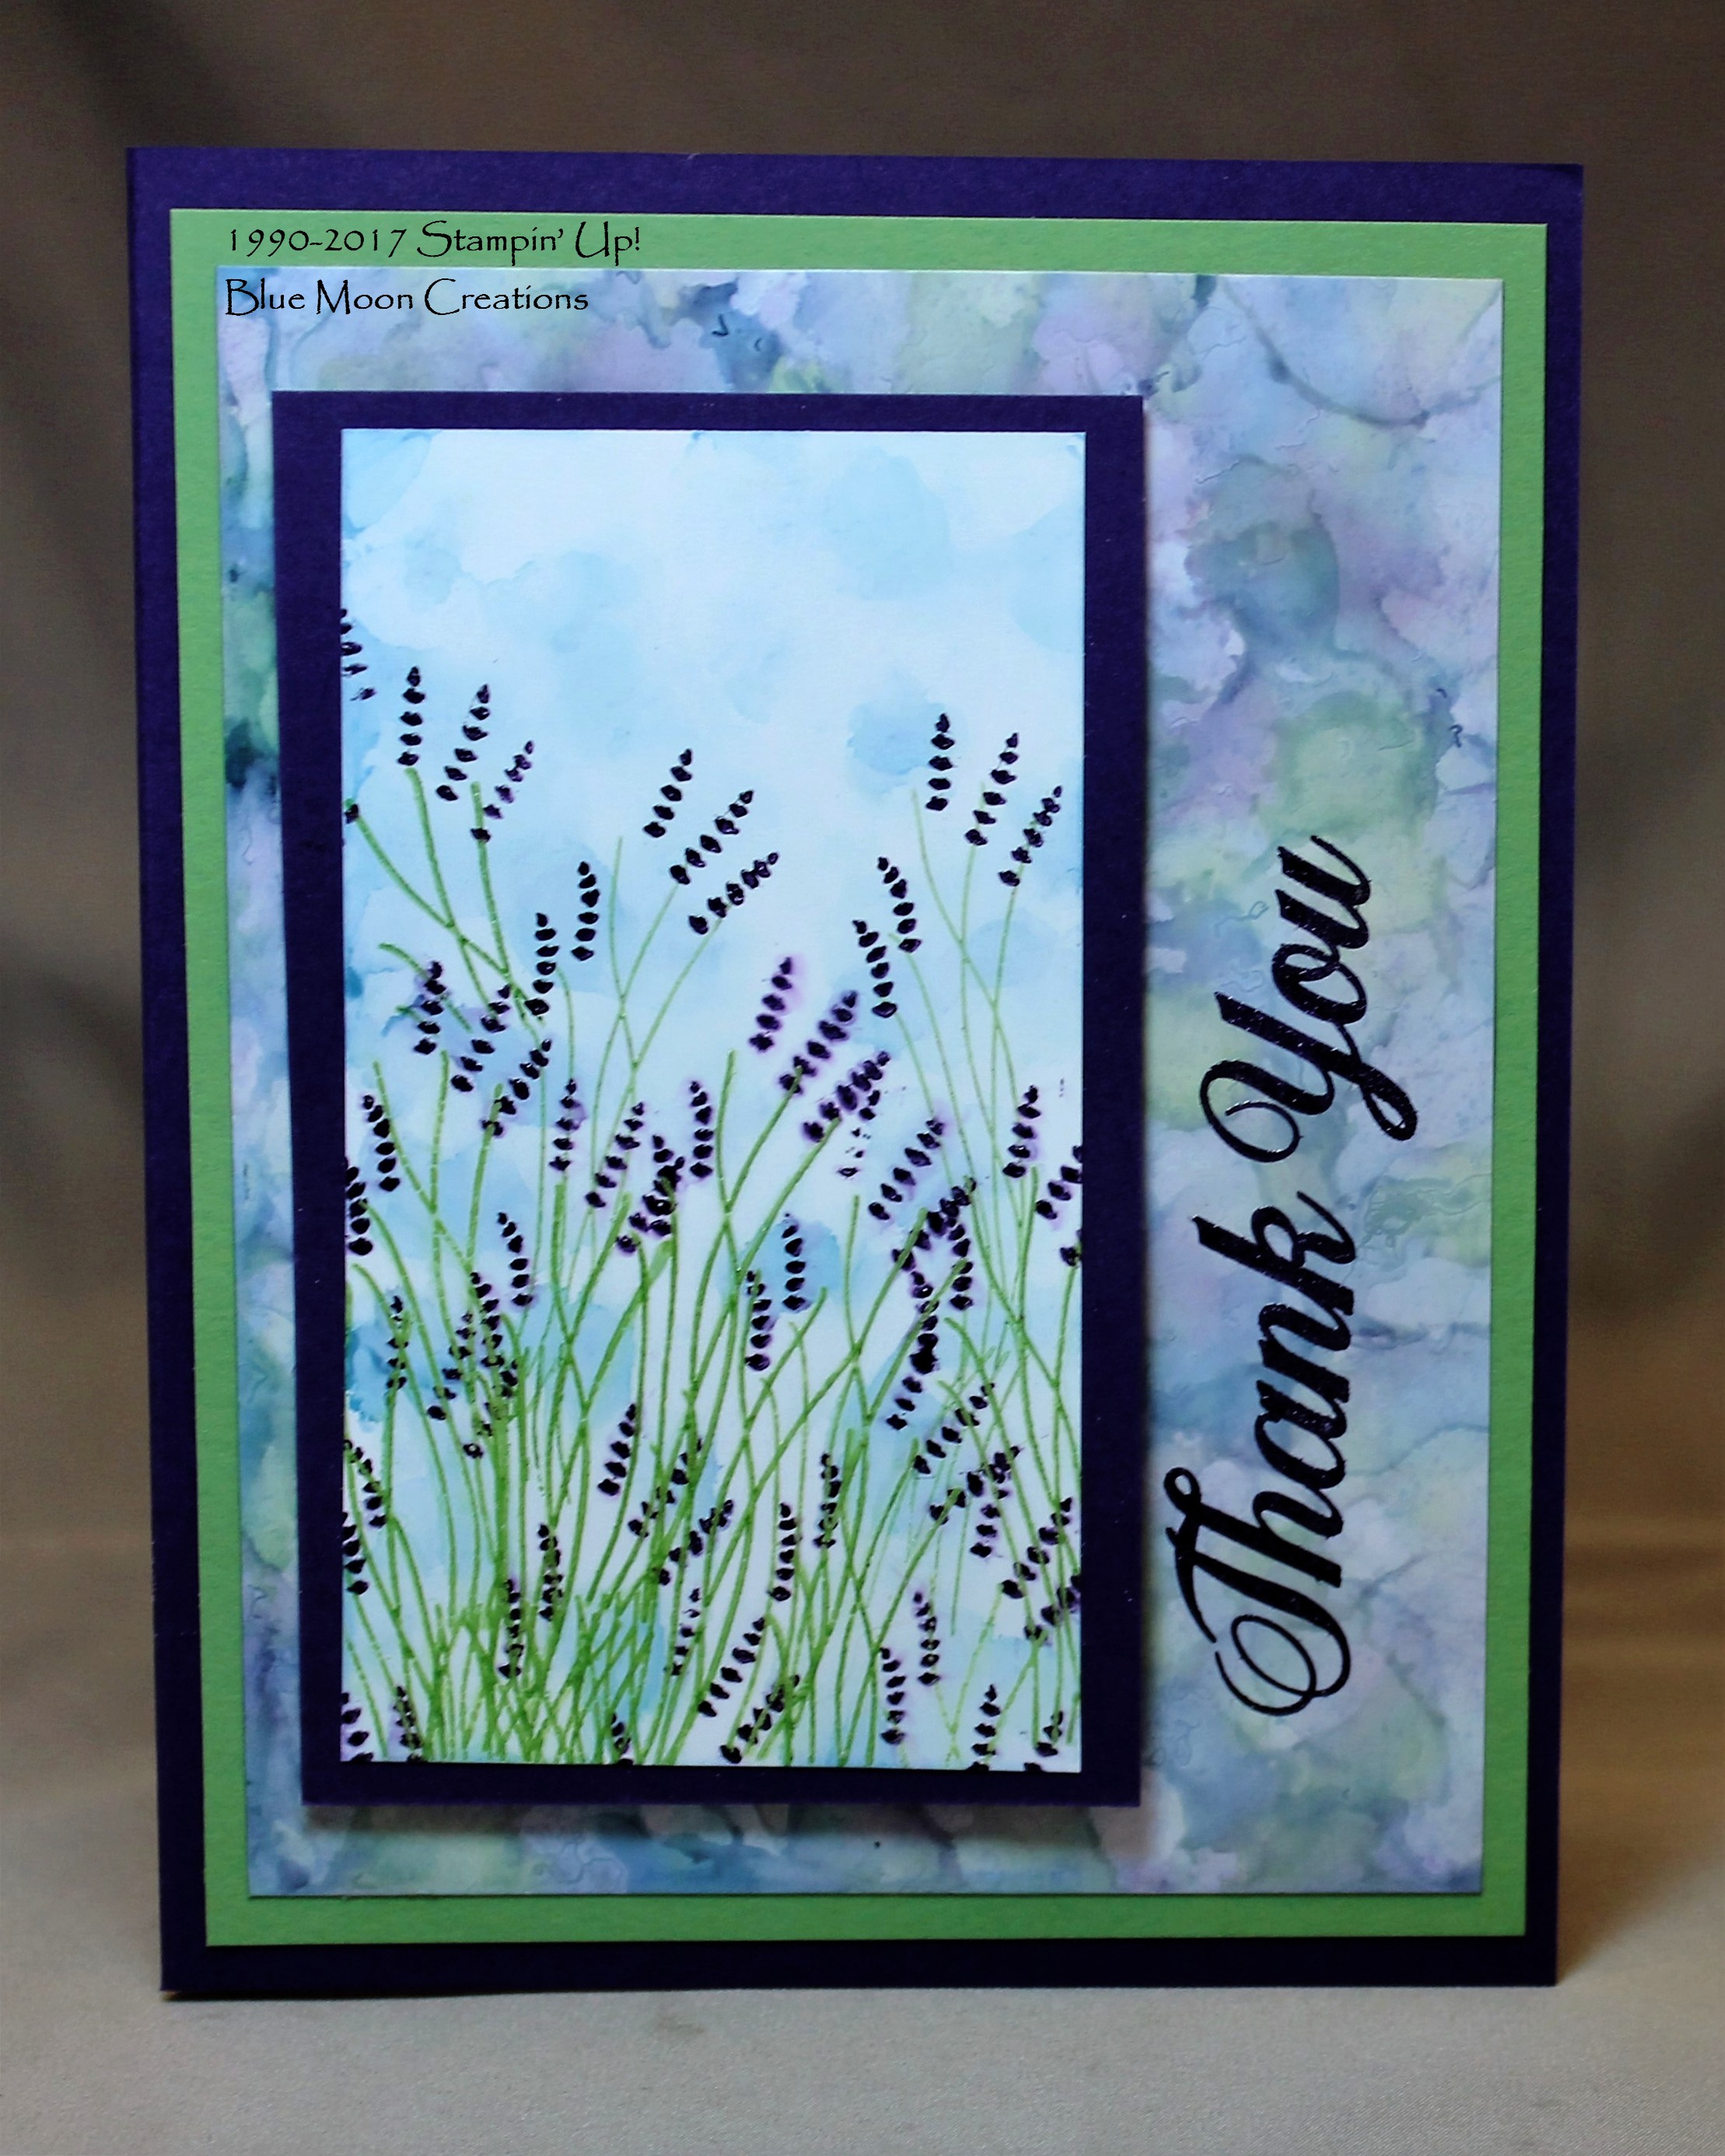
Now to finish the card.
6. Stamp stems and flowers from Daisy Delight stamp set onto a smaller piece of glossy card stock using Wild Wasabi and Elegant Eggplant inks.
7. Heat emboss the stamped images using a heat tool and clear embossing powder.

Because of the slick surface of the card stock, you will need to heat emboss your images.  Otherwise, the inks will never dry.  The ink will sit on top of the card stock and smear rather than soaking in.  If you don't want to heat emboss, you'll need to use a permanent ink like Stazon.
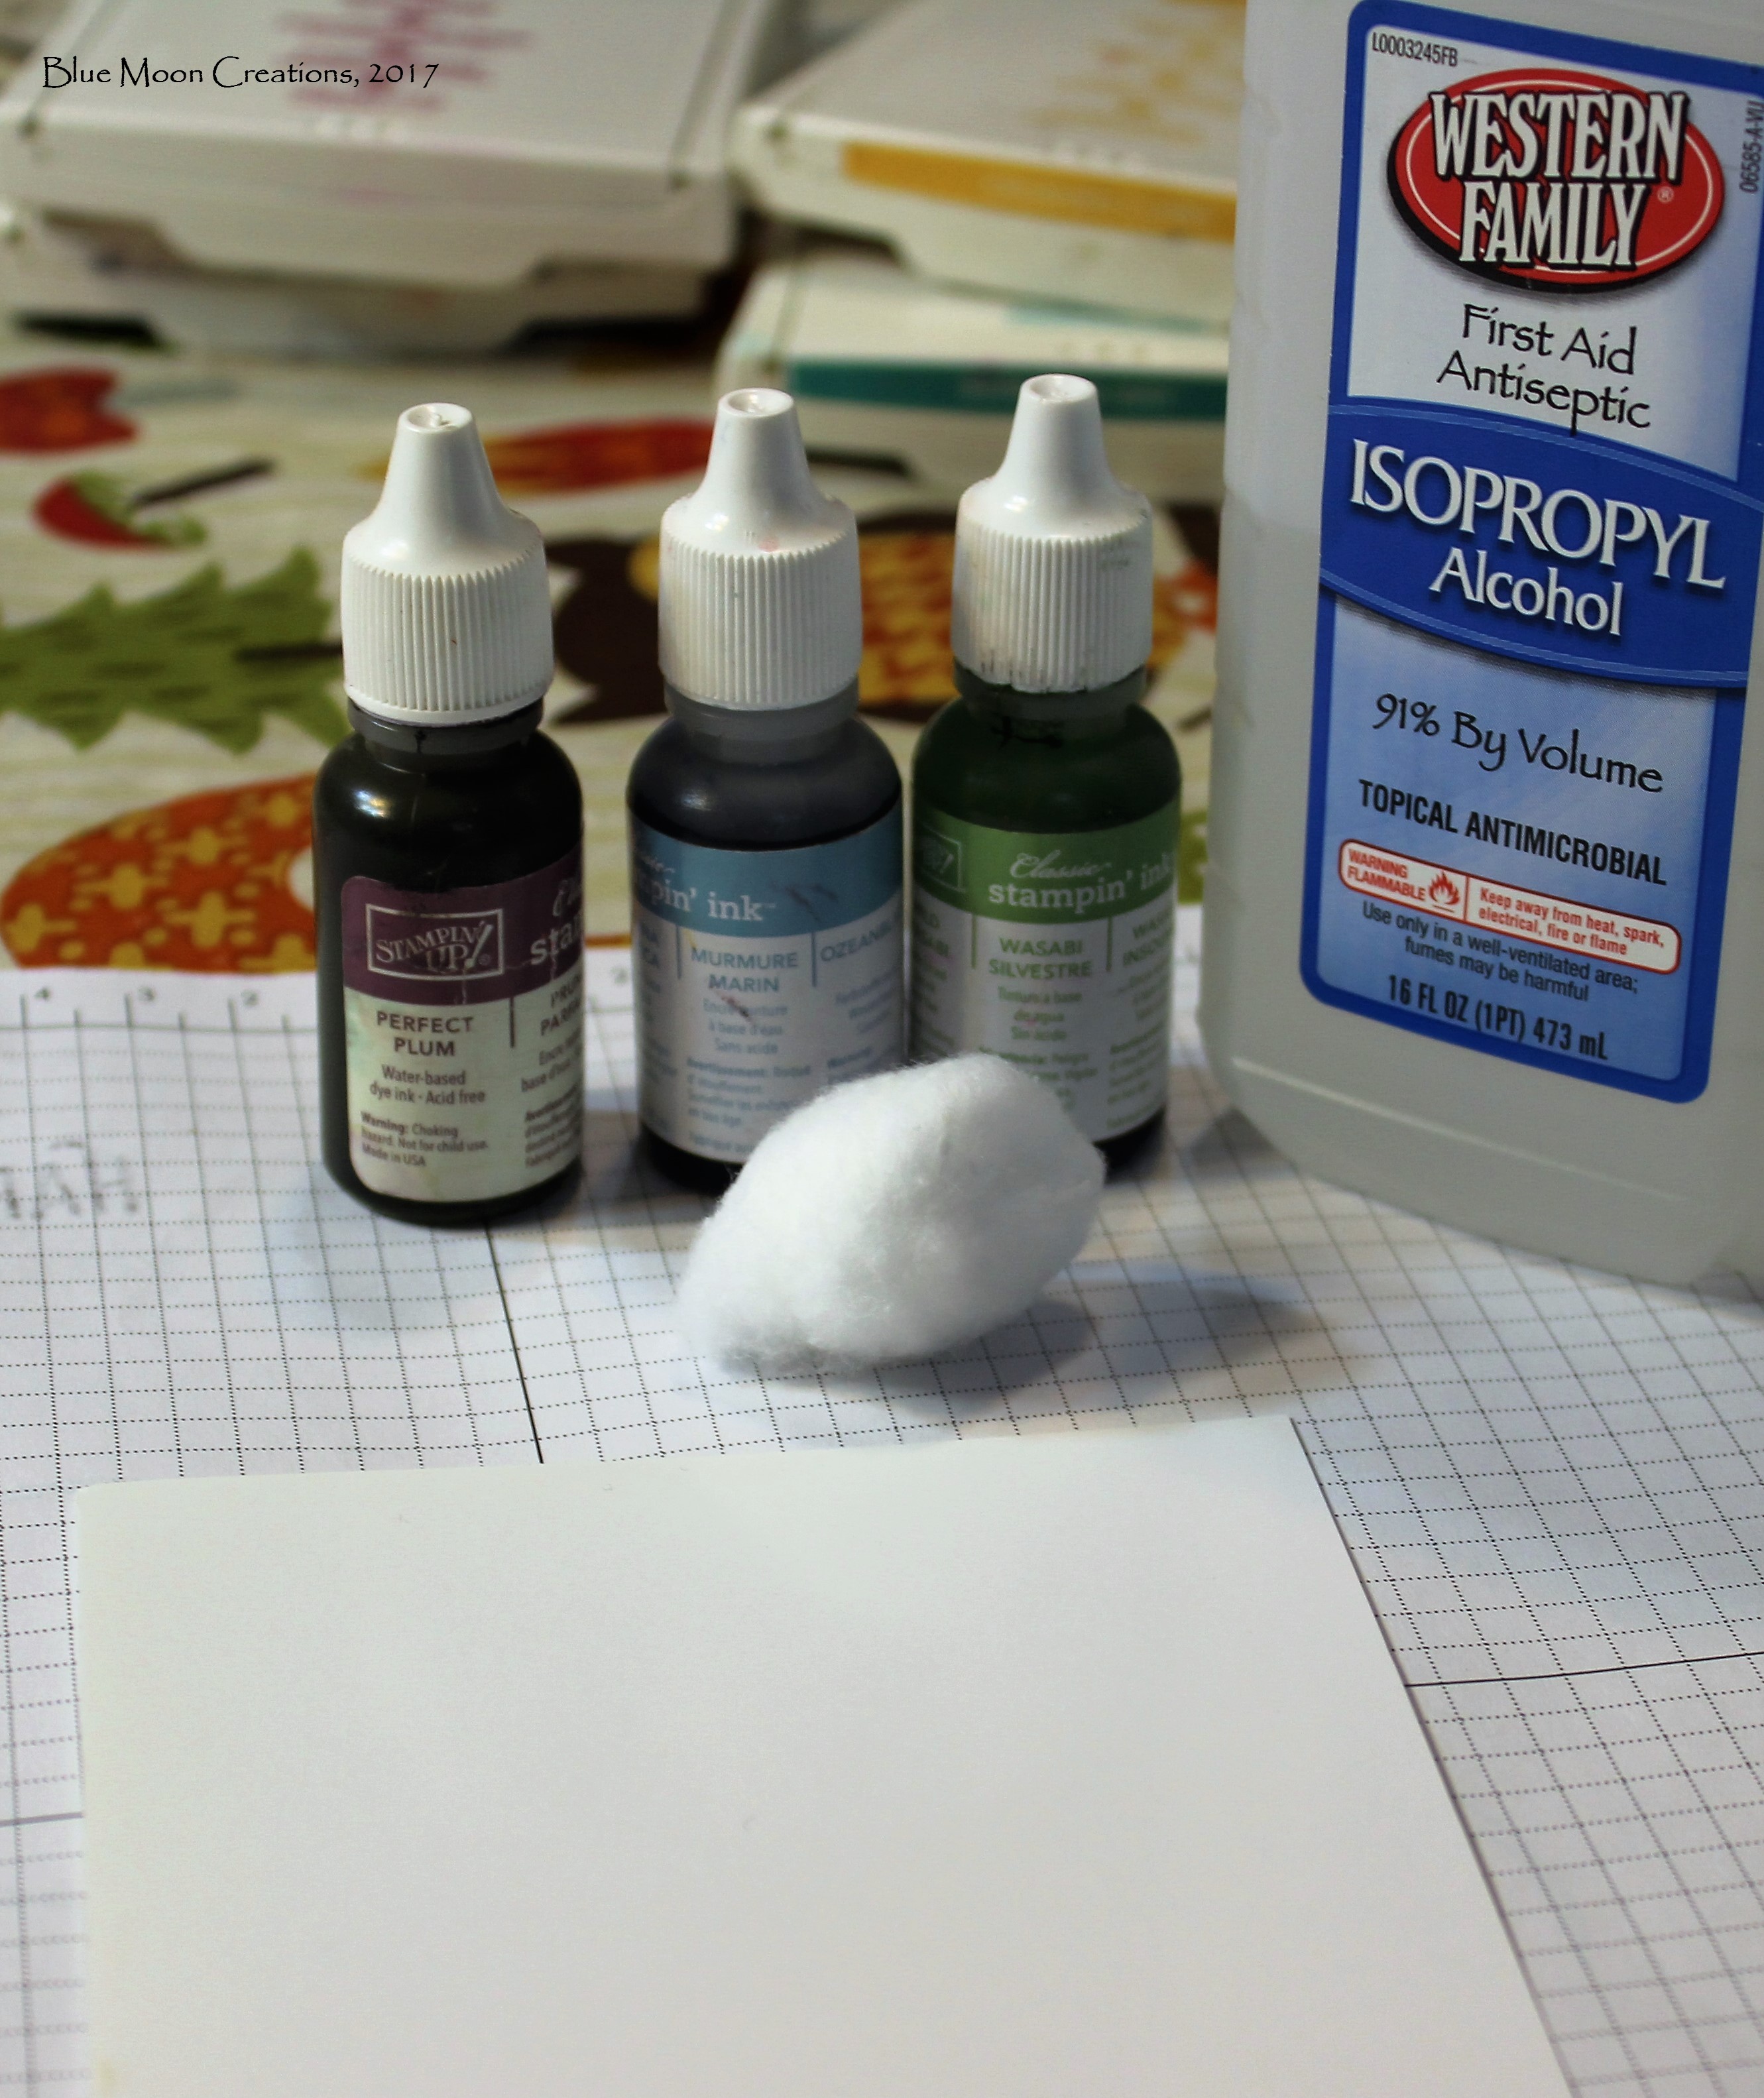
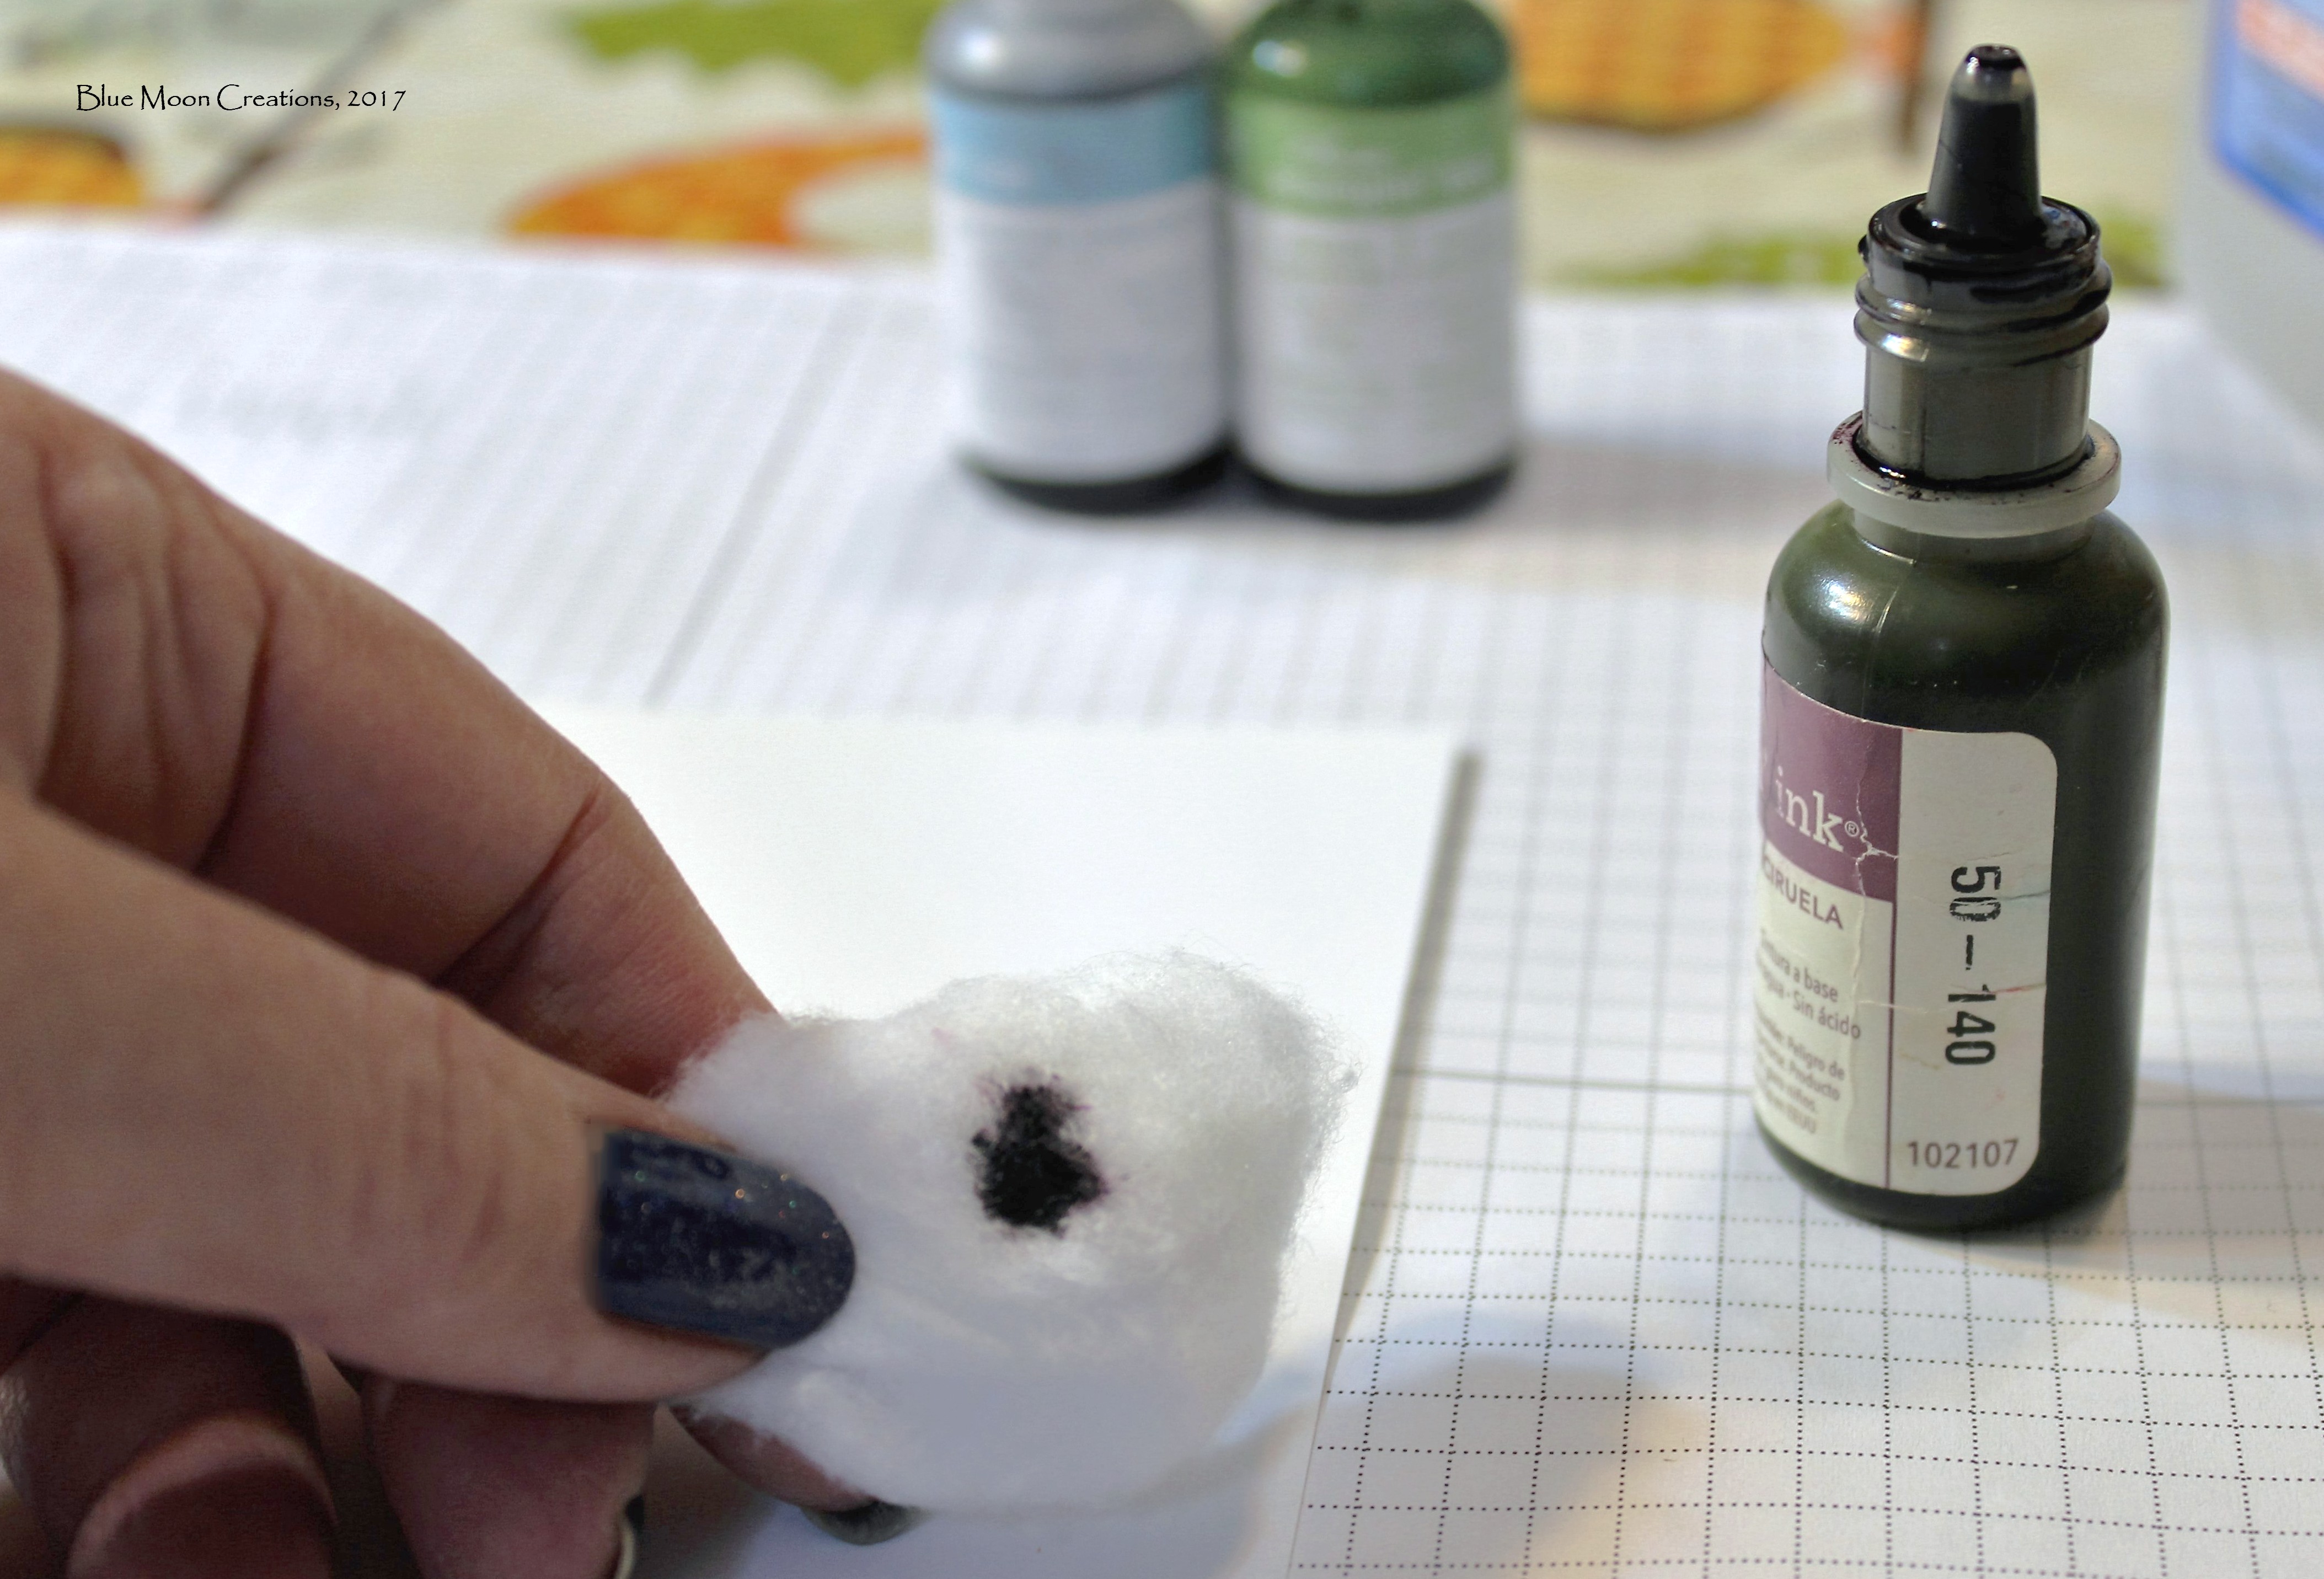
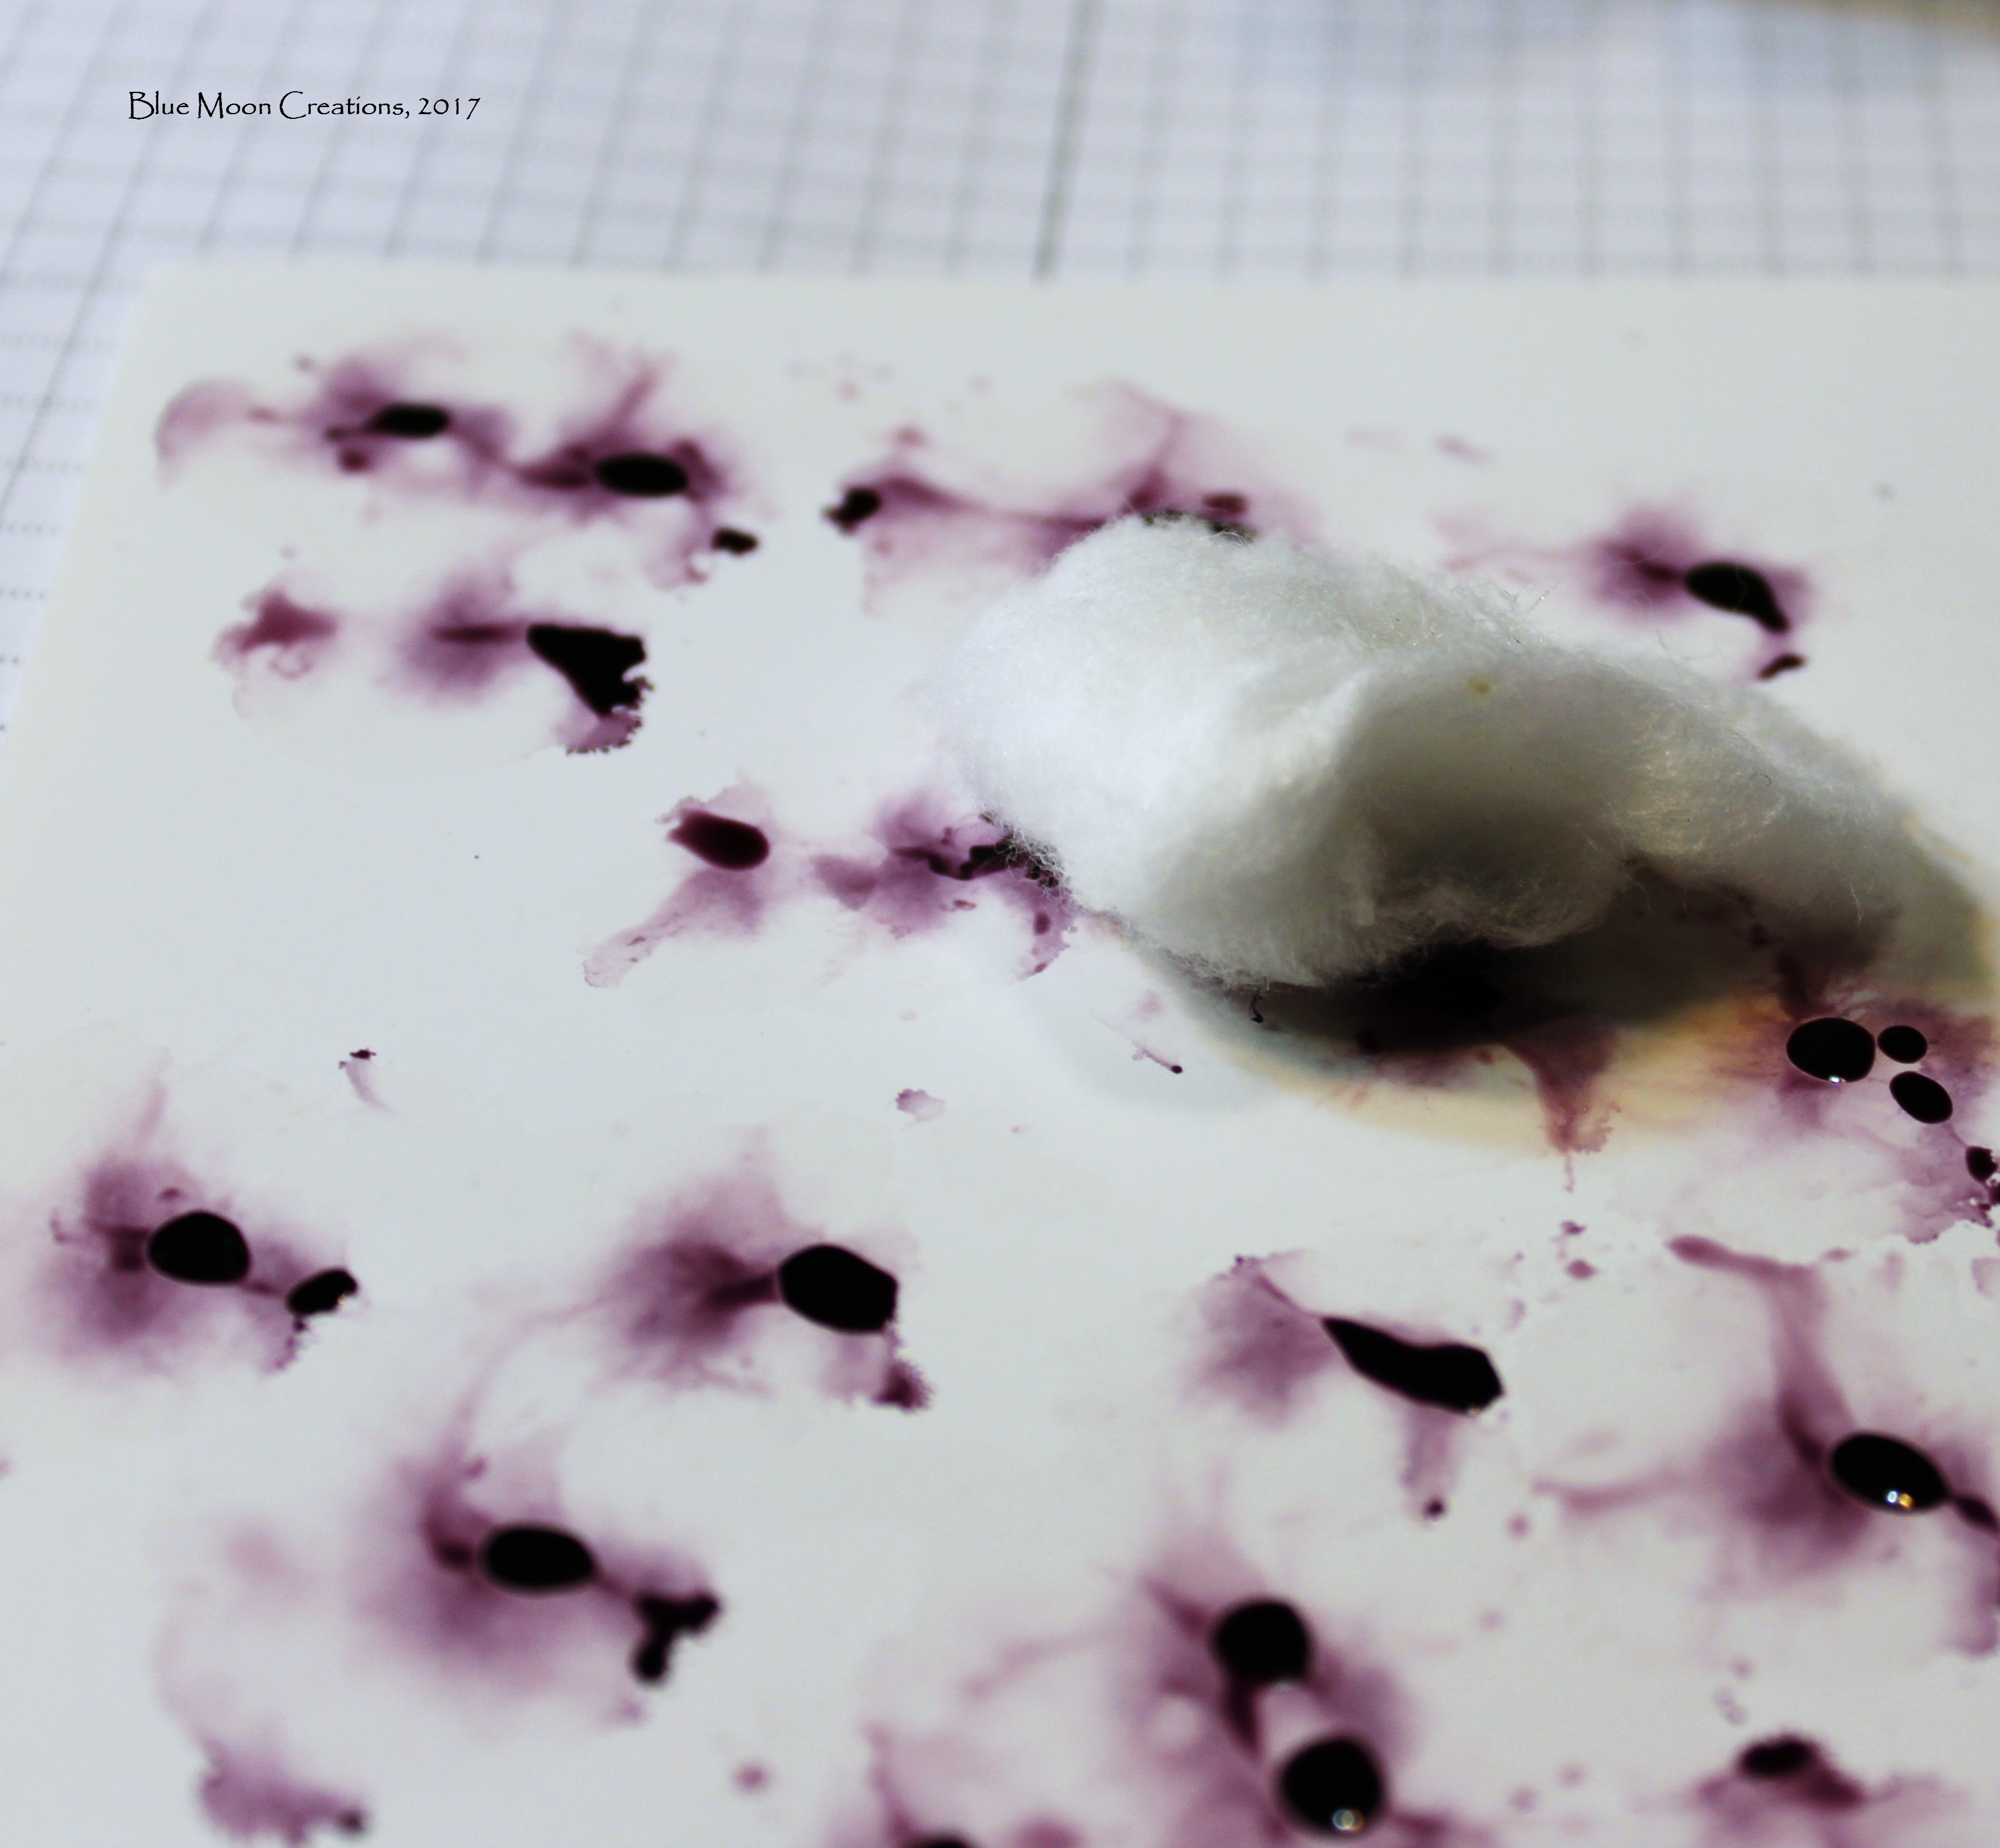
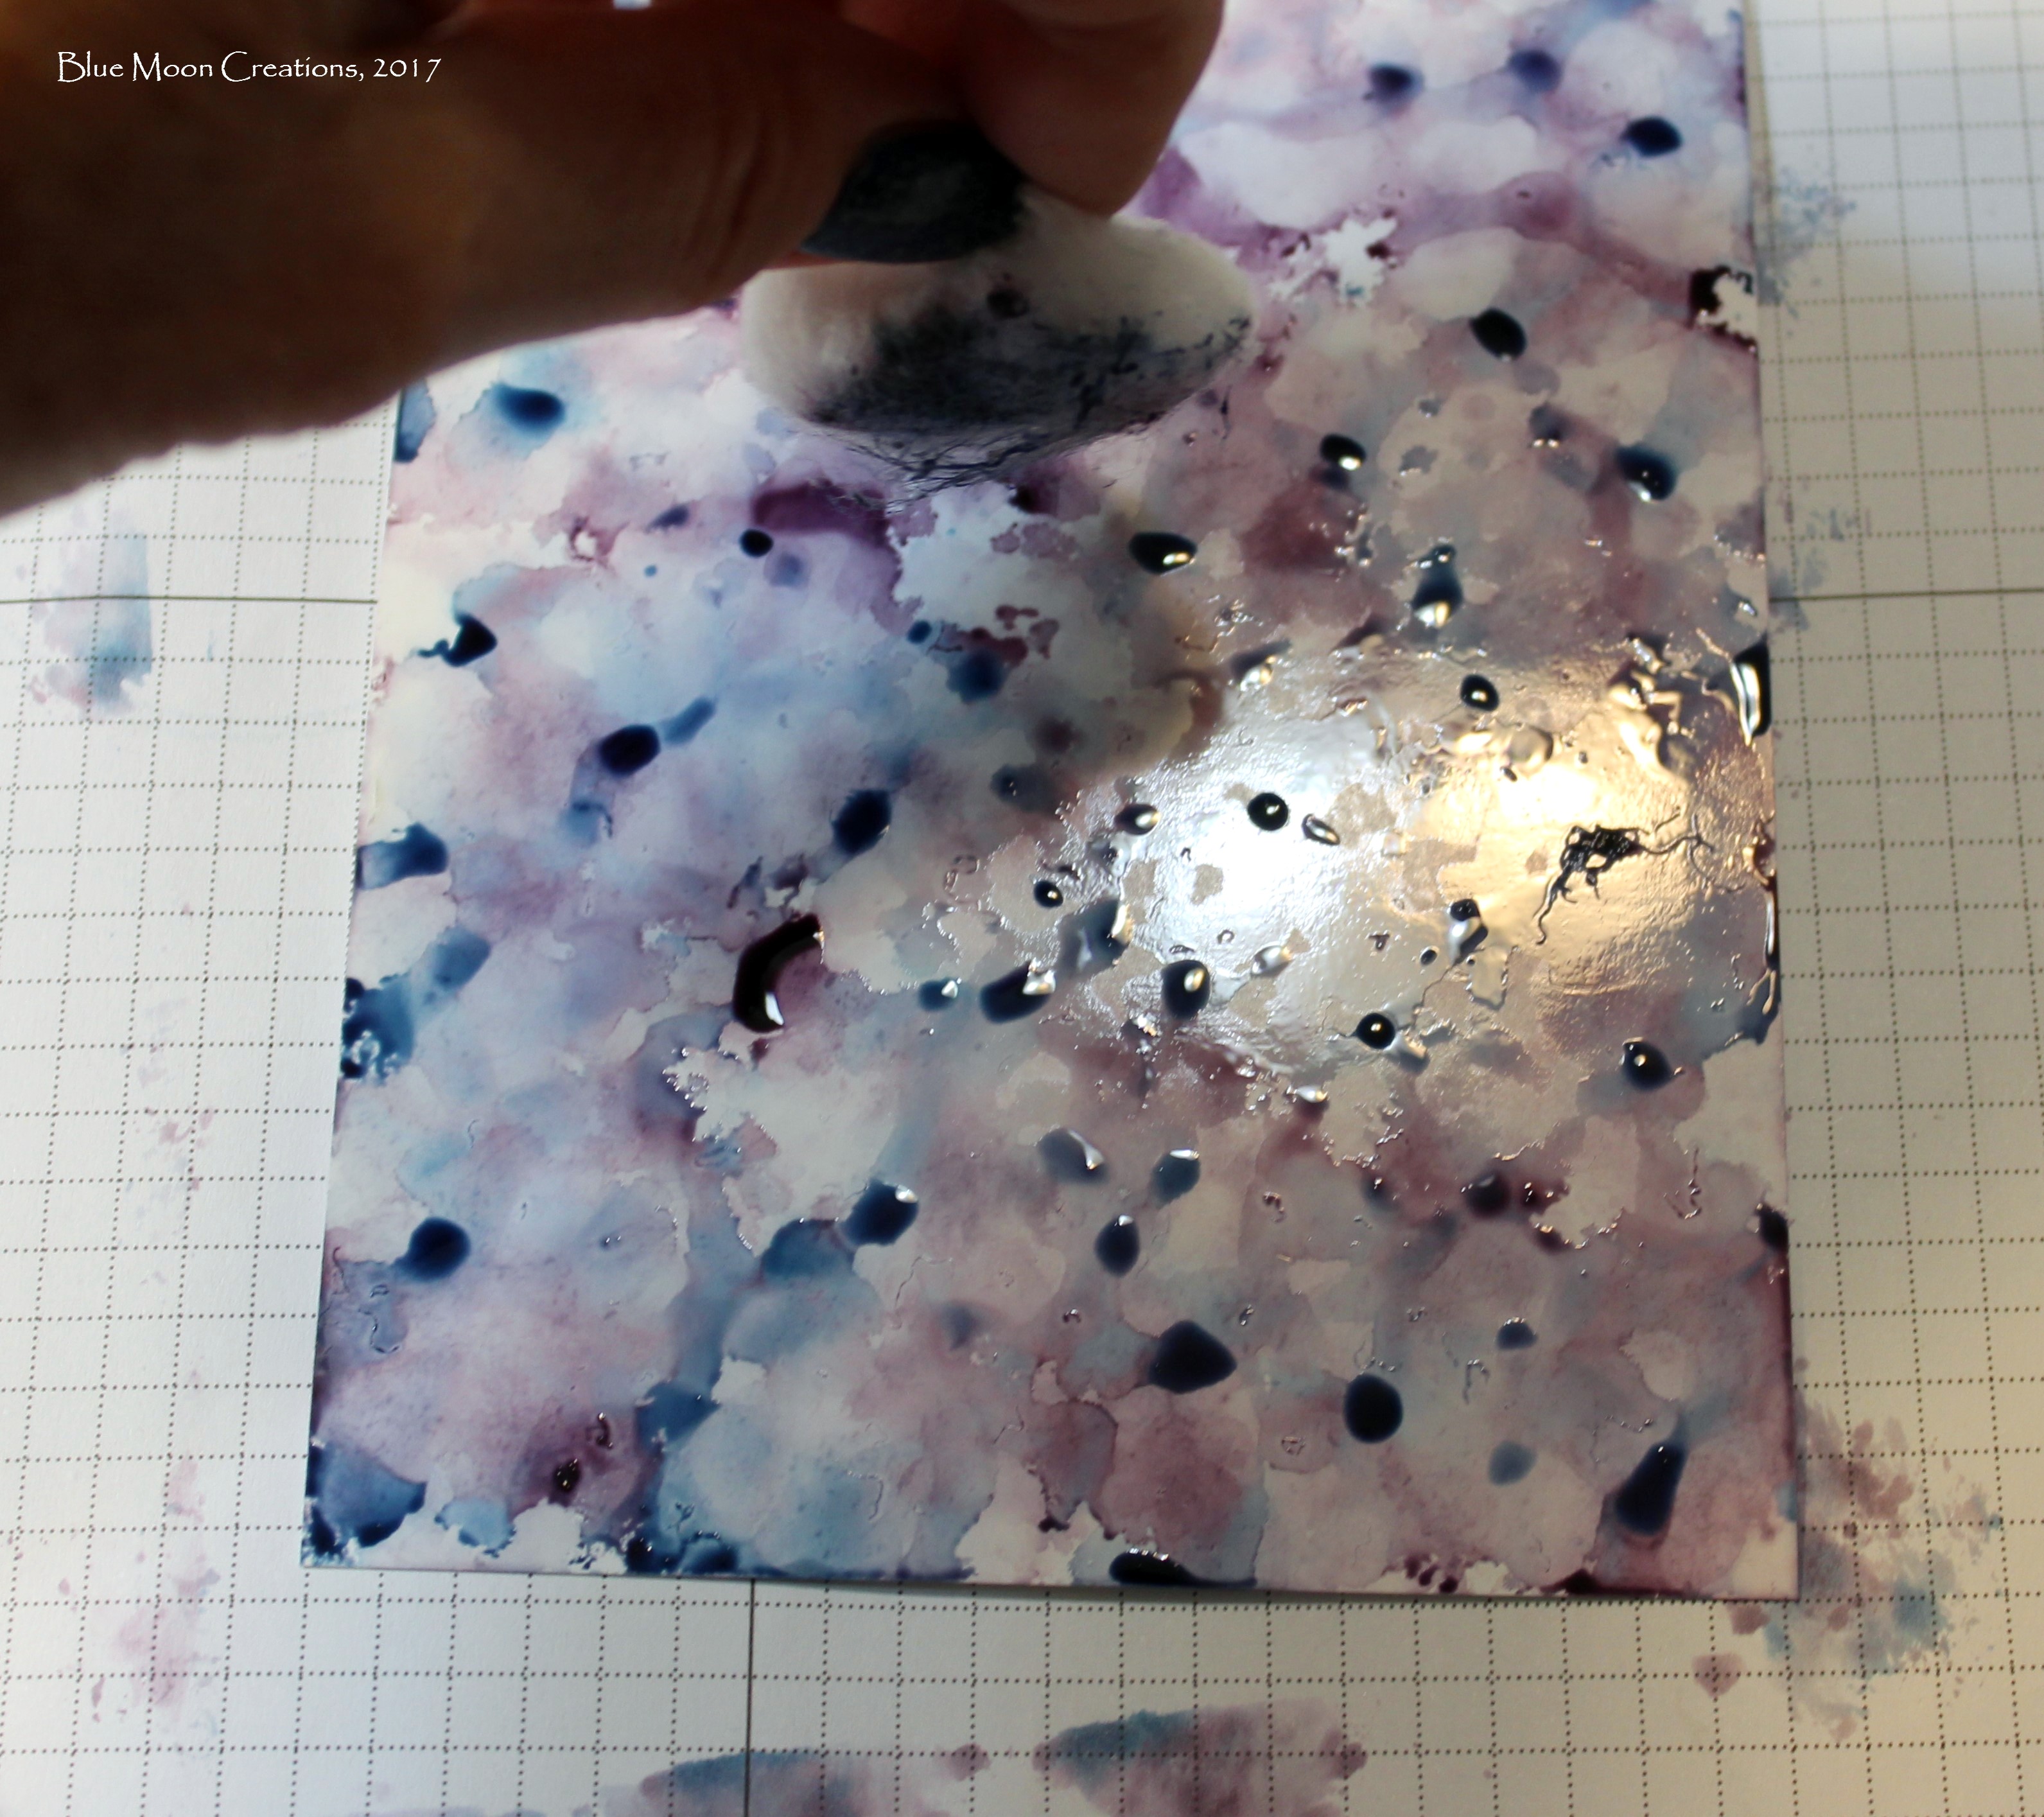
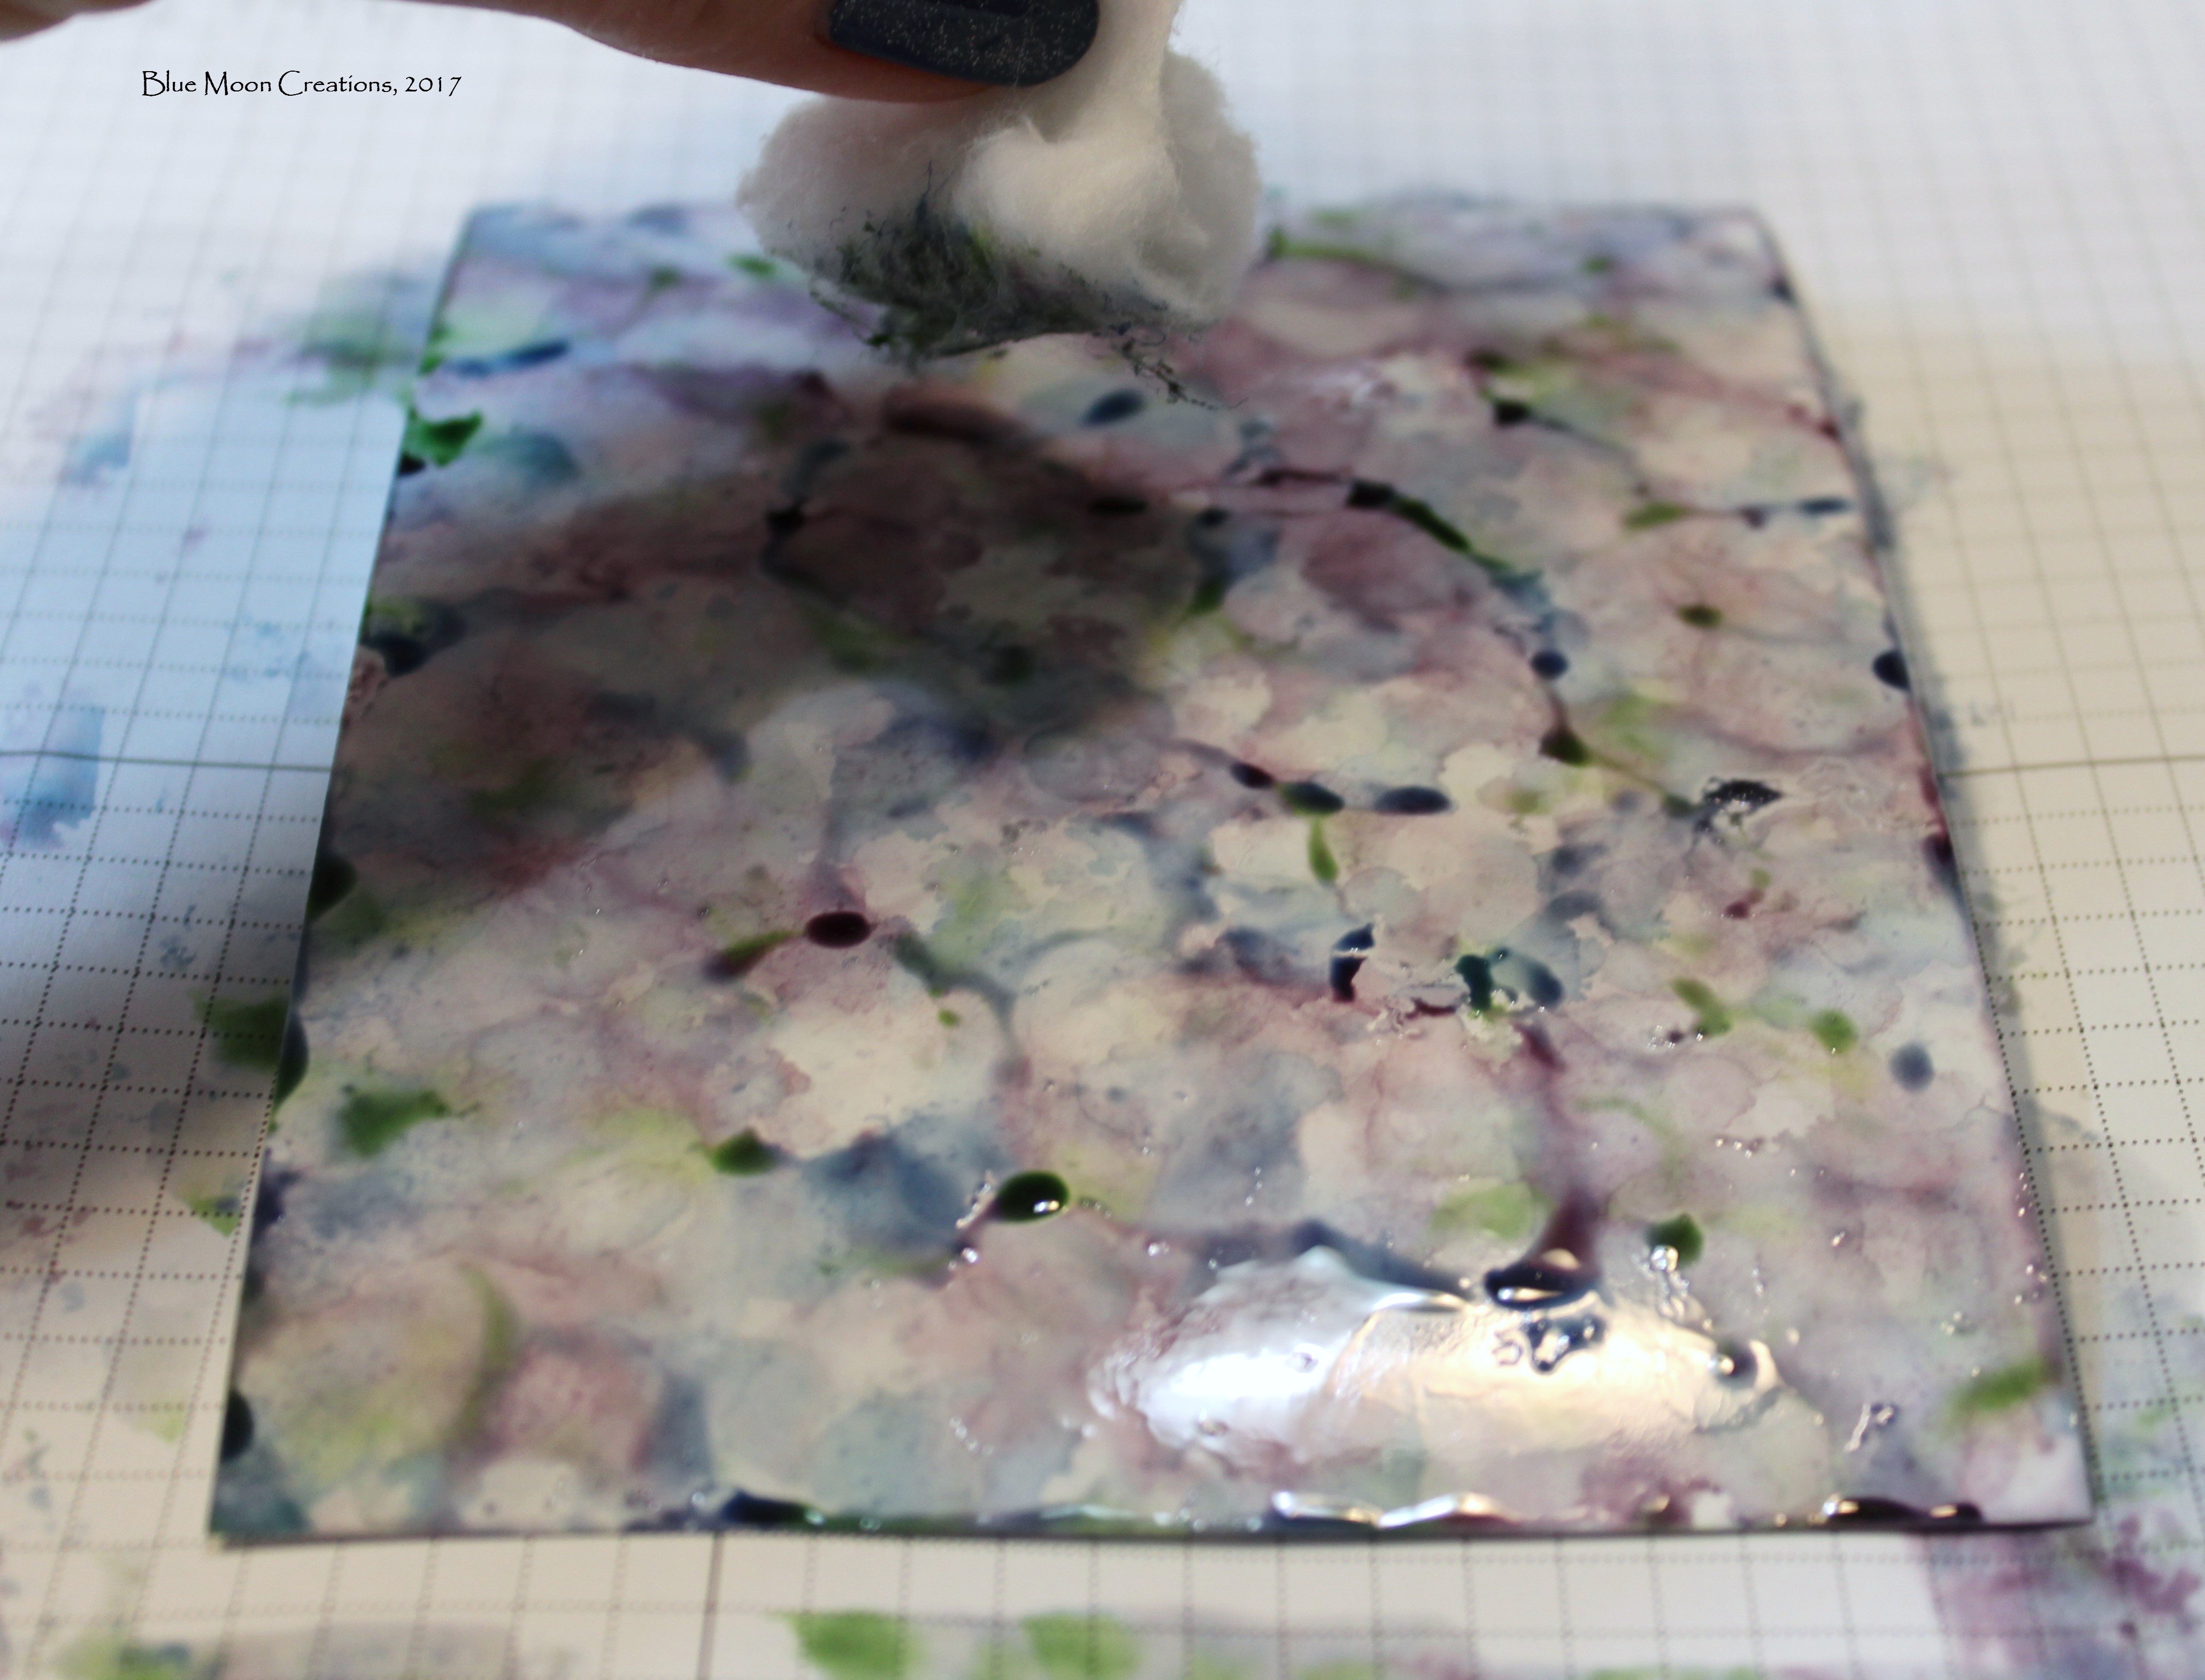
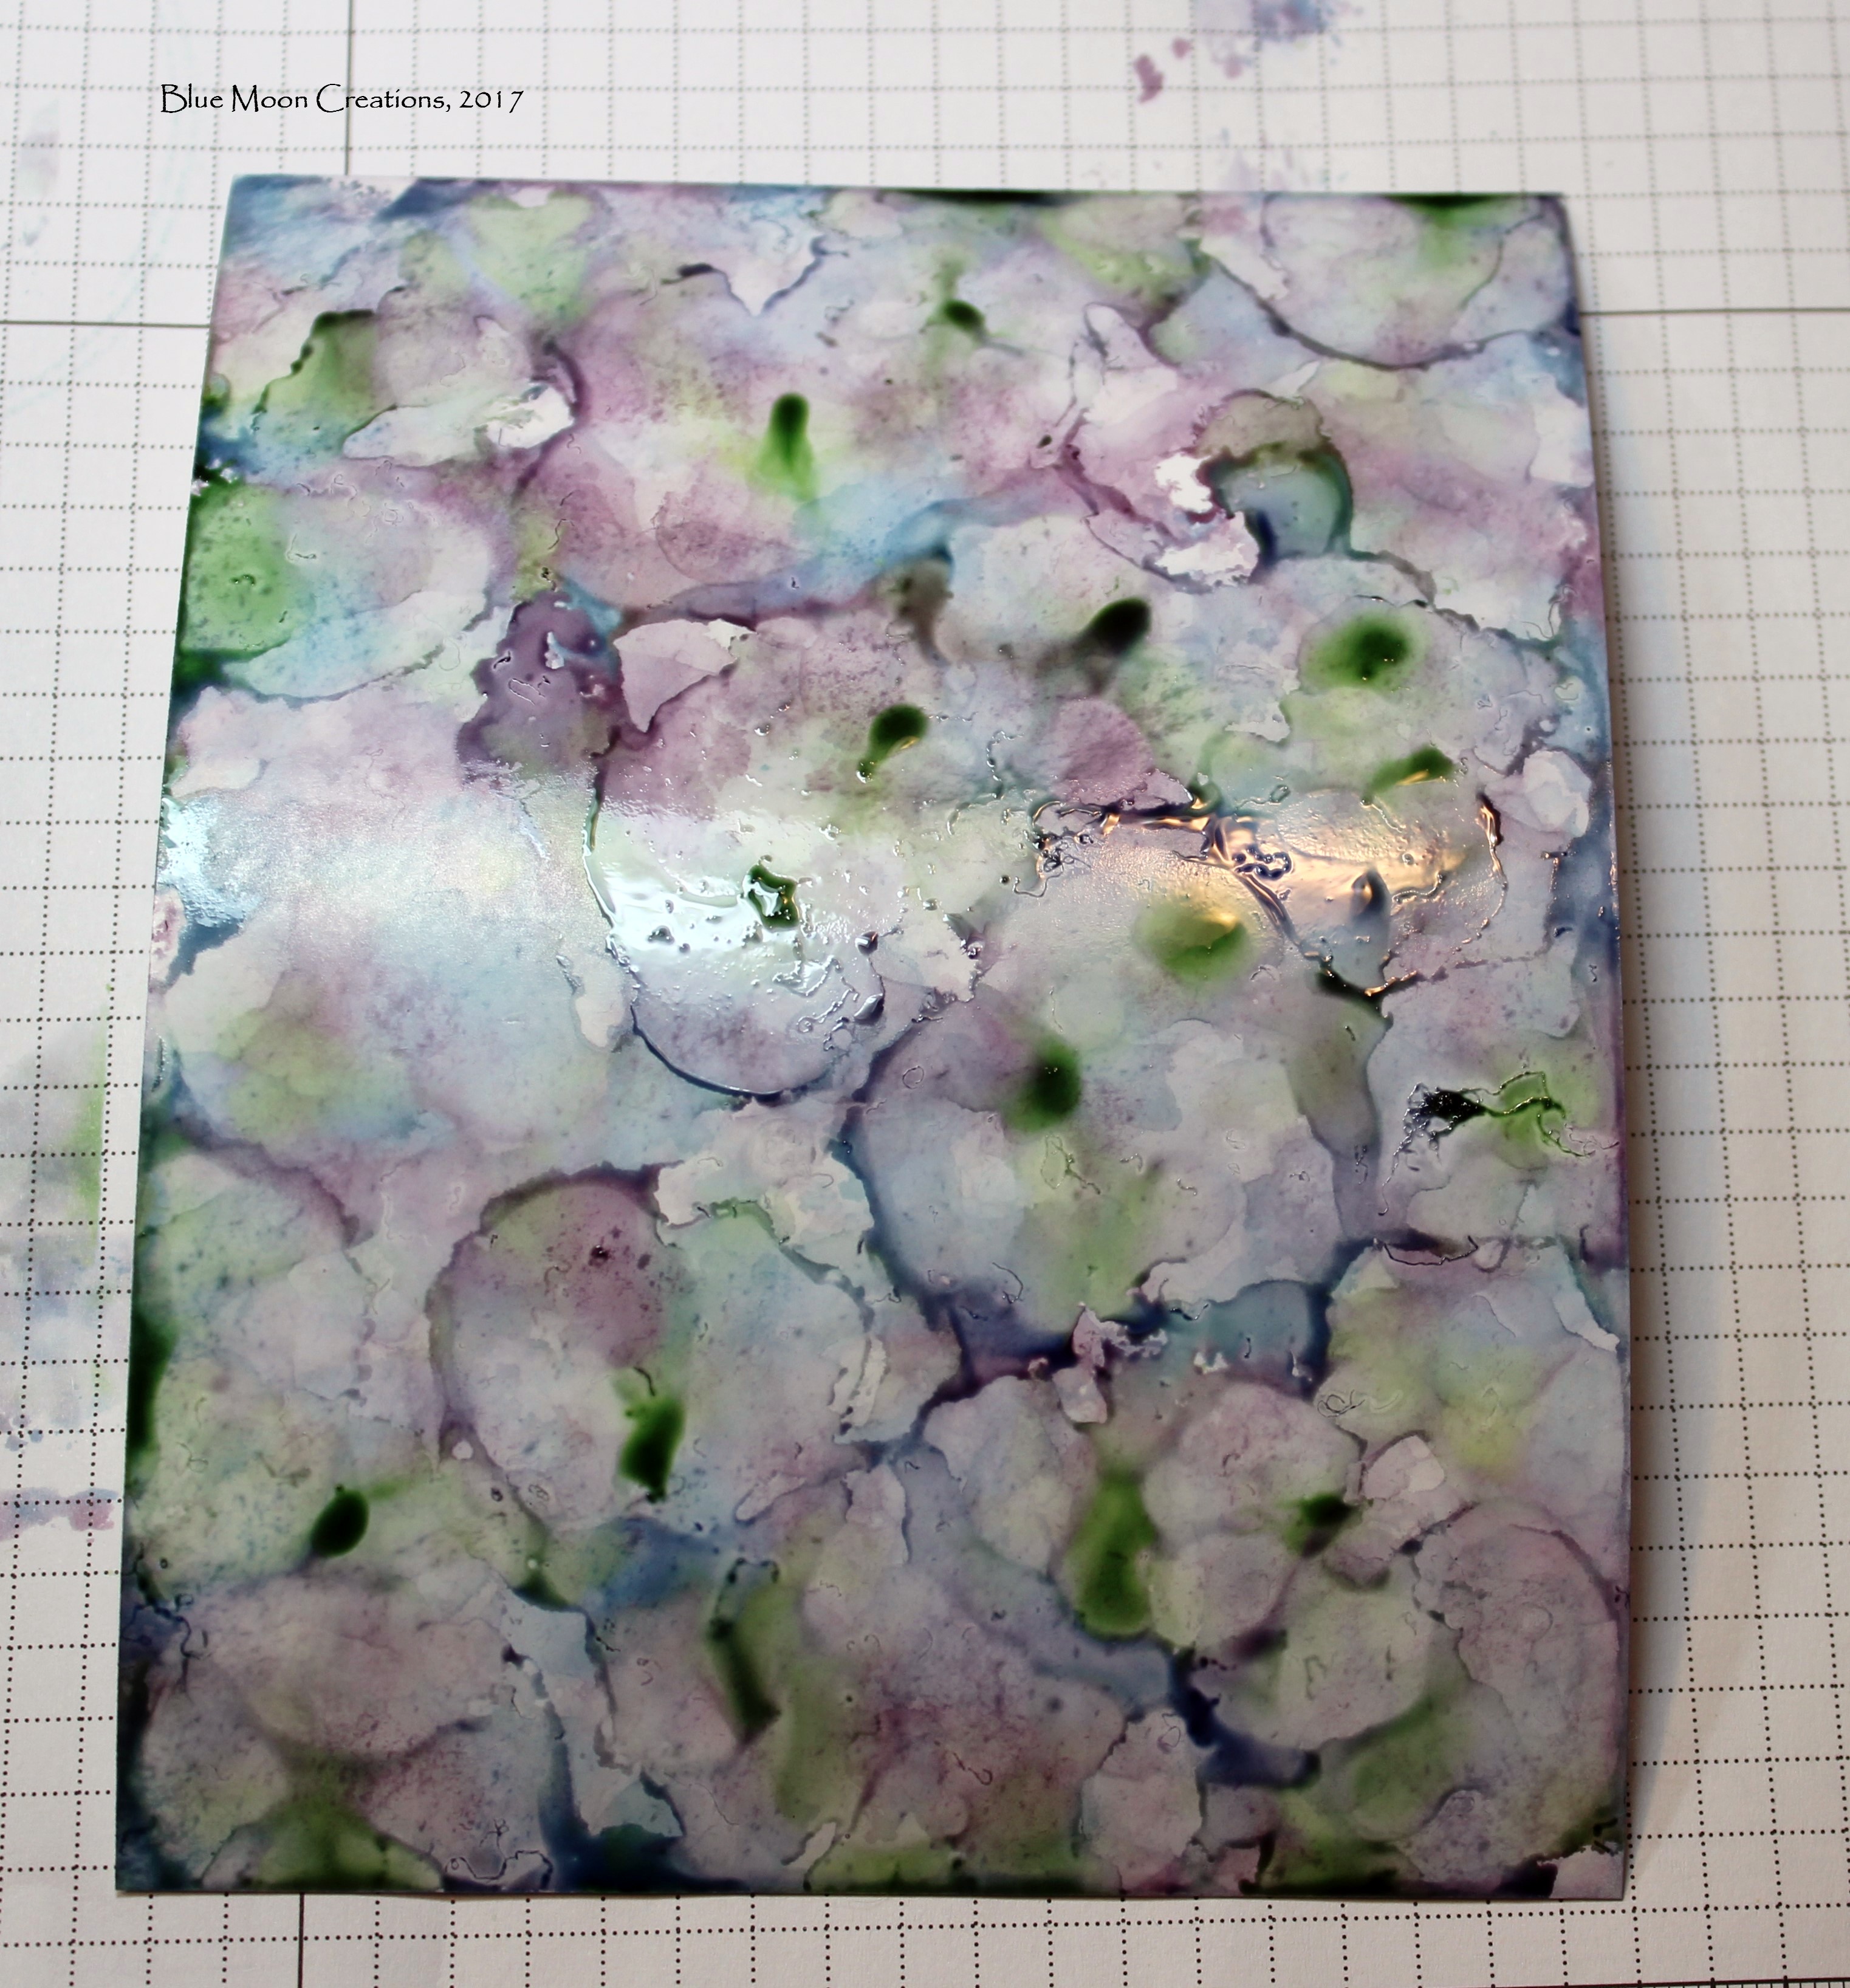
8.  Soak a fresh cotton ball with alcohol and add a drop of Marina Mist ink.  Dab onto embossed image to get a cloudy sky background.  Set the piece aside to dry completely.


9.  Attach piece to Elegant Eggplant mat.
10. Swipe Embossing Buddy over the right side of the polished stone card front.  Stamp greeting from Daisy Delight using Elegant Eggplant ink.  Heat emboss using heat tool and clear embossing powder.
11. Attach card front to Wild Wasabi mat.  Attach to Elegant Eggplant card base.
12. Attach stamped piece to the front of the card beside the embossed greeting using Dimensionals to pop it up.


Polished Stone Daisy Delight

Supplies Used:
Stamp Set: Daisy Delight
Ink: Perfect Plum, Marina Mist, Wild Wasabi, Elegant Eggplant
Paper: Glossy White, Elegant Eggplant, Wild Wasabi
Accessories: cotton ball, rubbing alcohol, Embossing Buddy, heat tool, clear embossing powder, Dimensionals

Have fun with this technique.
Happy Stamping!