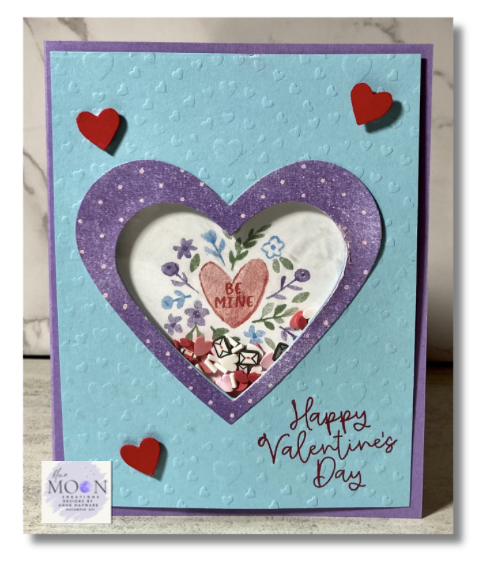
Put a sweet spin on your Valentine’s Day crafting with this easy Bee My Valentine spinner card!
Instructions:
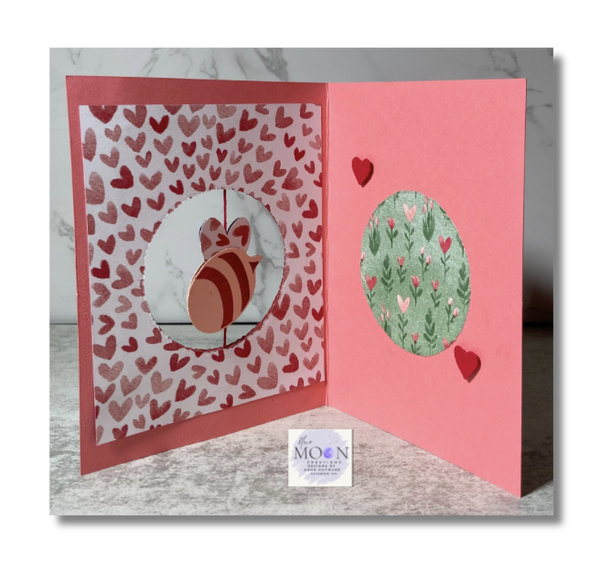
1.Create the spinner mechanism:
-Lightly attach the Love Notes card front to Flirty Flamingo card base —just enough adhesive to keep the layers aligned for the next step.
-Punch or die-cut your chosen shape through both layers at the same time.
(Save the die-cut piece for the inside of the card.) Then separate the card front from the card base.
-Stamp the bee stripes on two Petal Pink pieces using Real Red ink. Punch both with the Bee Builder Punch.
-Stamp the face on one bee using
Real Red.
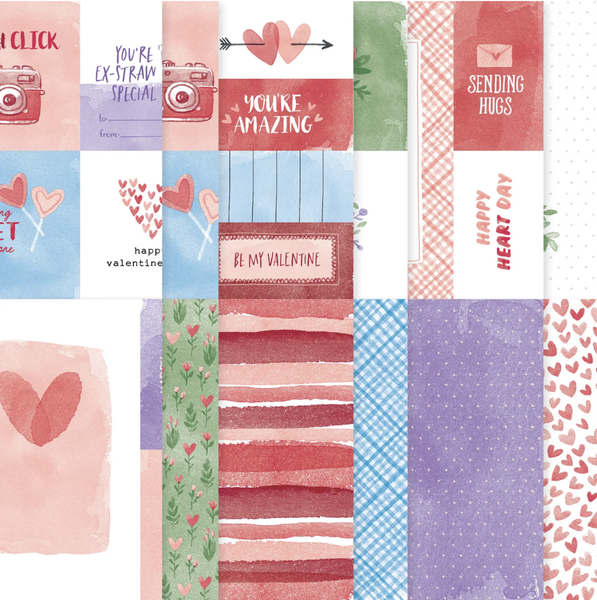
-Punch two sets of wings from Love Notes DSP.
-Cut a length of ribbon or twine the height of the card front. Sandwich the ribbon between the two bees and wings.
-Apply a strip of adhesive at
the top and bottom of the opening on the card base. Position the ribbon/twine so the bee sits centered in the window, then press to secure.
-Attach die-cut Love Notes card front over the ribbon/twine, matching up the openings.
2.Complete the Card:
-Create a border from Flirty Flamingo card stock by nesting two circle
dies.
-Adhere the border around the opening using Tombow Liquid Glue.
-Attach the previously saved die-cut circle to the inside of the card so it sits behind the spinner when closed.
Optional: Add a piece of Love Notes DSP inside the card for a finished look.
-Stamp the greeting on Petal Pink card stock with Real Red ink. Mat it with Flirty Flamingo card stock and attach it to the card front.
-Punch Real Red hearts with Bee
Builder Punch and adhere them with Mini Dimensionals to finish the card.
Supplies Used:
Stamp Set: Bee My Valentine
Ink: Real Red
Paper: Flirty Flamingo, Petal Pink, Real Red, Love Notes DSP
Accessories: Stampin' Cut & Emboss Machine, Deckled Circle Dies, Bee Builder Punch, red
baker's twine from my stash, Tombow Liquid Glue, Mini Dimensionals